Showing posts with label easy sewing projects. Show all posts

Sunday, November 17, 2013

Easy Denim Skirts For All Seasons


I have wanted to do this for a long time! But like we all do, I add it to the craft wish list that is a mile long! Right? Mine is, please say yours is too, so I feel better. Thanks.

The great thing about this skirt is that I used jeans that were too big or just plain unflattering now.  We must purge these bad things from our life. My first one was a full length skirt. Love Love! Then I was packing up Summer stuff and I saw crops. These will make a great pass the knee length skirt. I'm so thinking knee boots and pattern tights! You with me now?

Problem... reading a lot of feed back a lot of attempts went South, or there were tutorials that added wonky steps. Well, I fixed this. Yeah, go me! It's the combination of being an artist with an engineering side to me.

So now let me present: the perfect patch work skirt, with no wonky bumps or sticky out bits!

You will need 2 pairs of denim, or 2 pairs of denim crops. Choose one pair to be your skirt, and the other for the patch. 
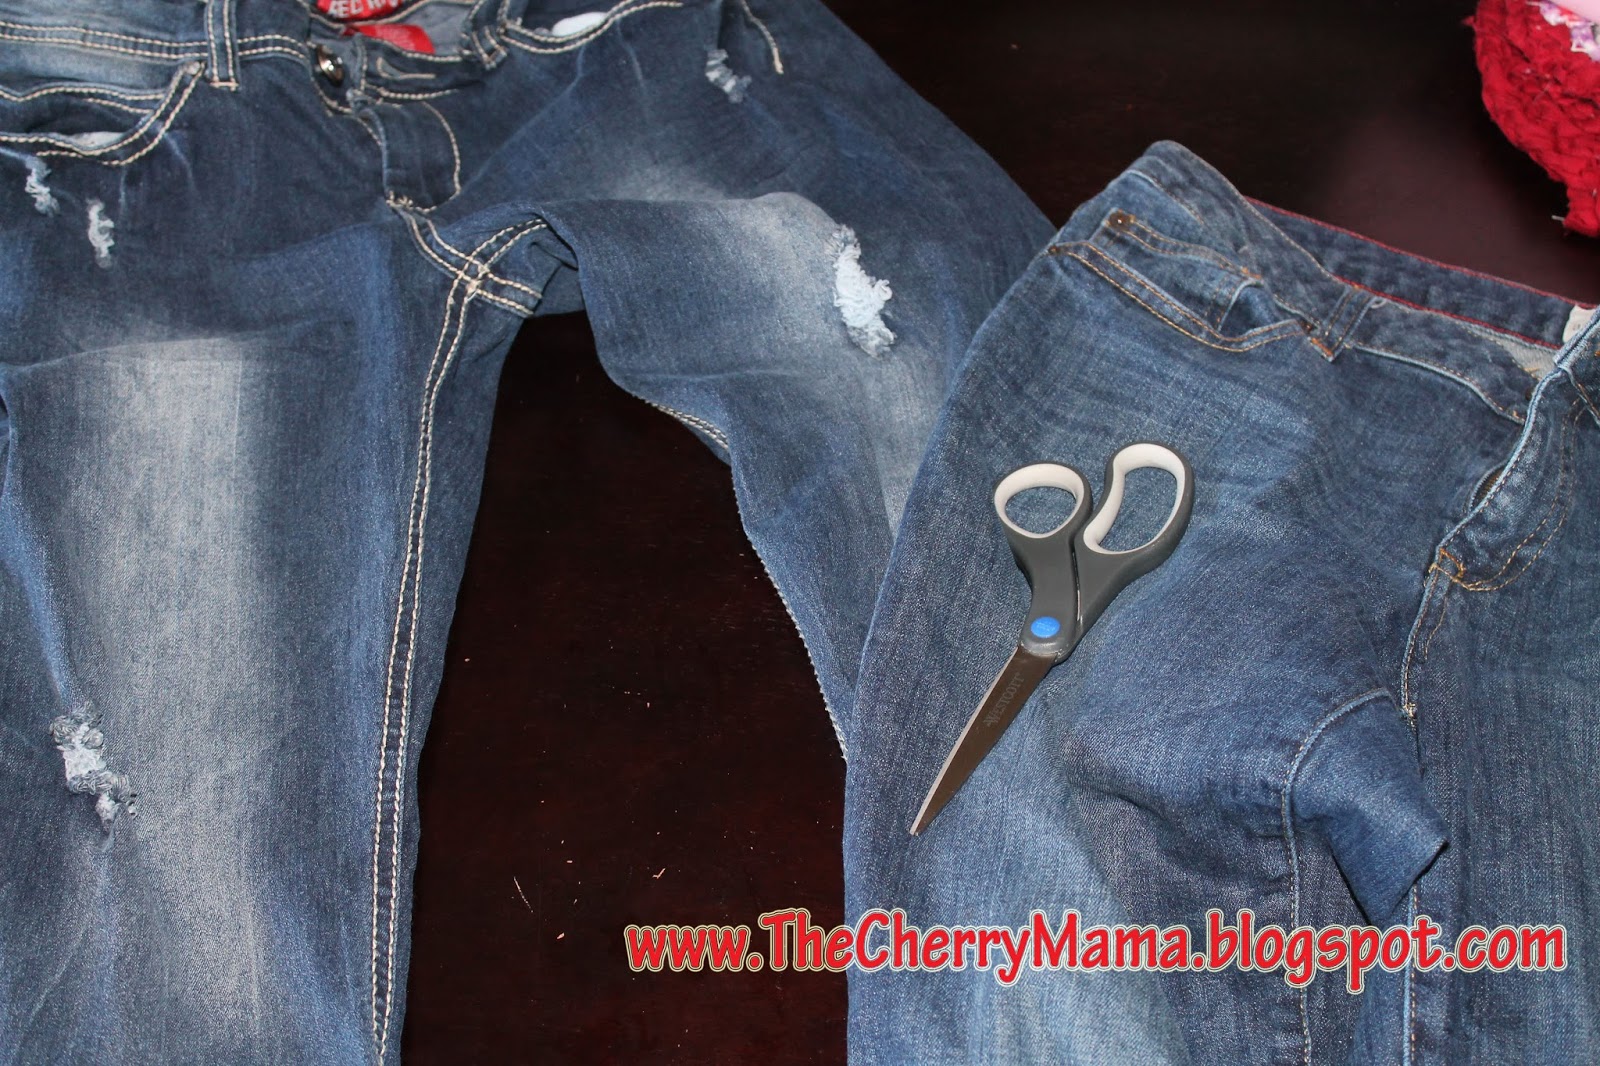
I chose the more bling bling ones as my main pair because they already had the perfect rips and cute back pockets.
Cut open the seam on both pairs!
Take your patch pair and cut off the legs. Cut as high up as possible.
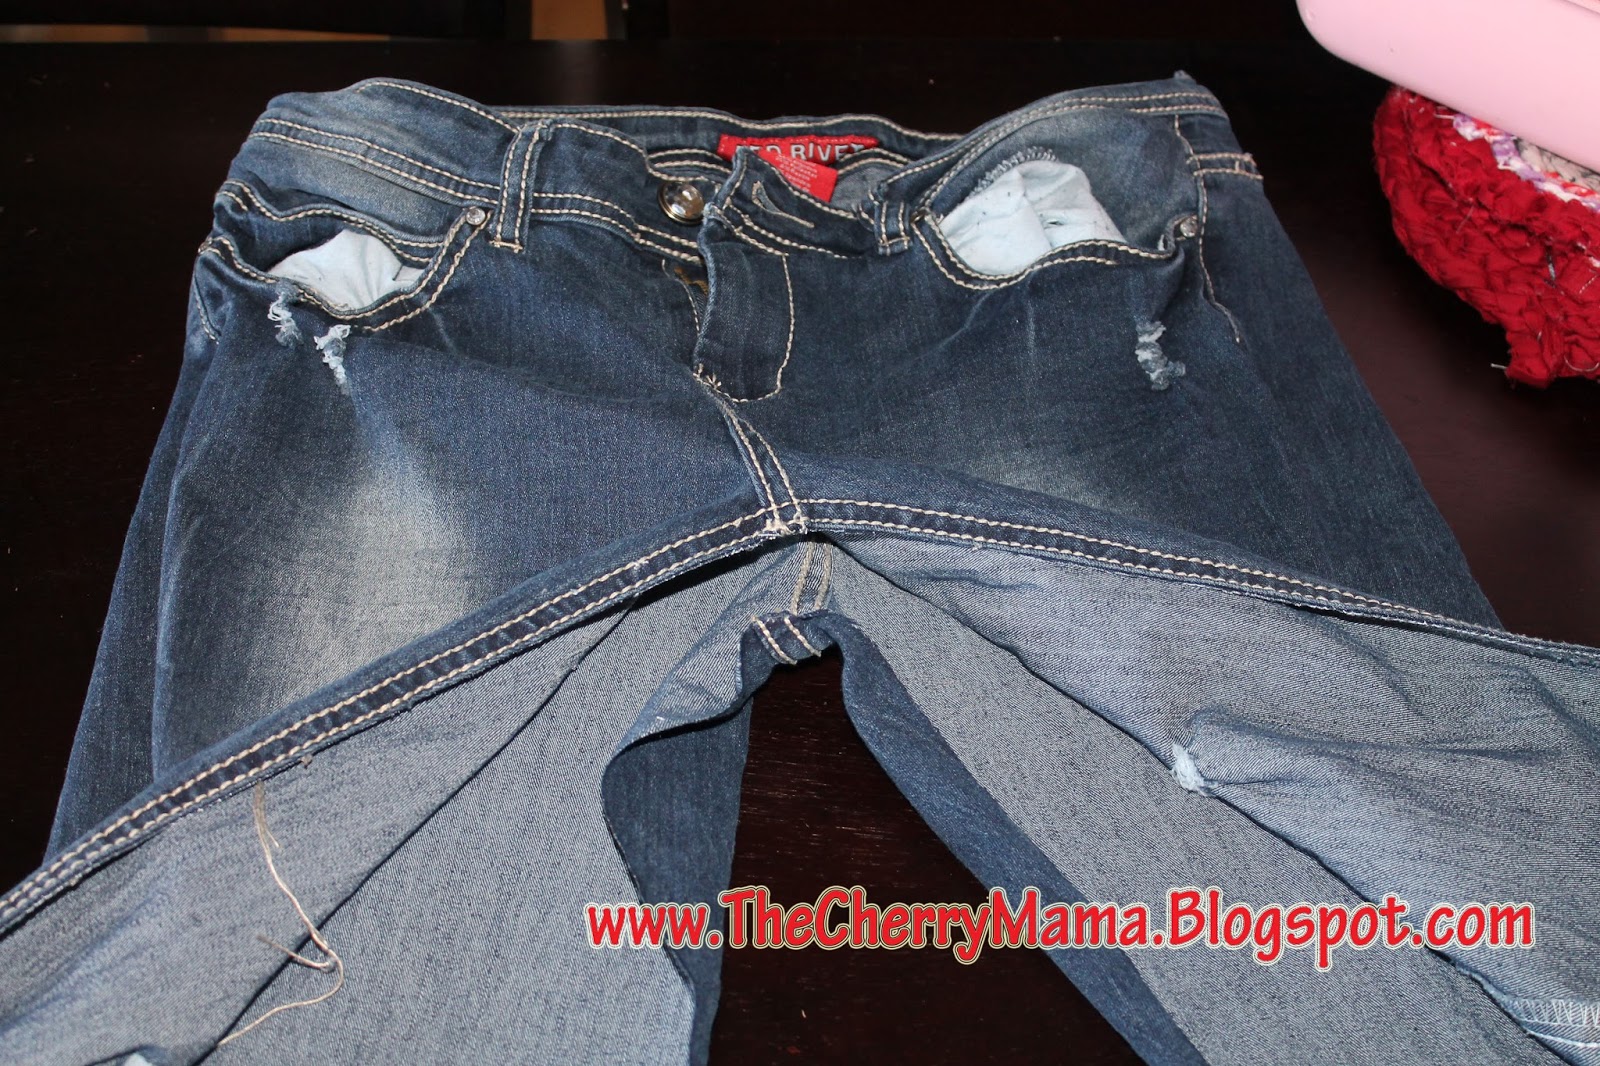


Open up your main pair and insert your patch piece underneath. But make sure you flip it upside down so you have more fabric at the bottom.


By flipping it upside down you will get a more full look in your skirt.
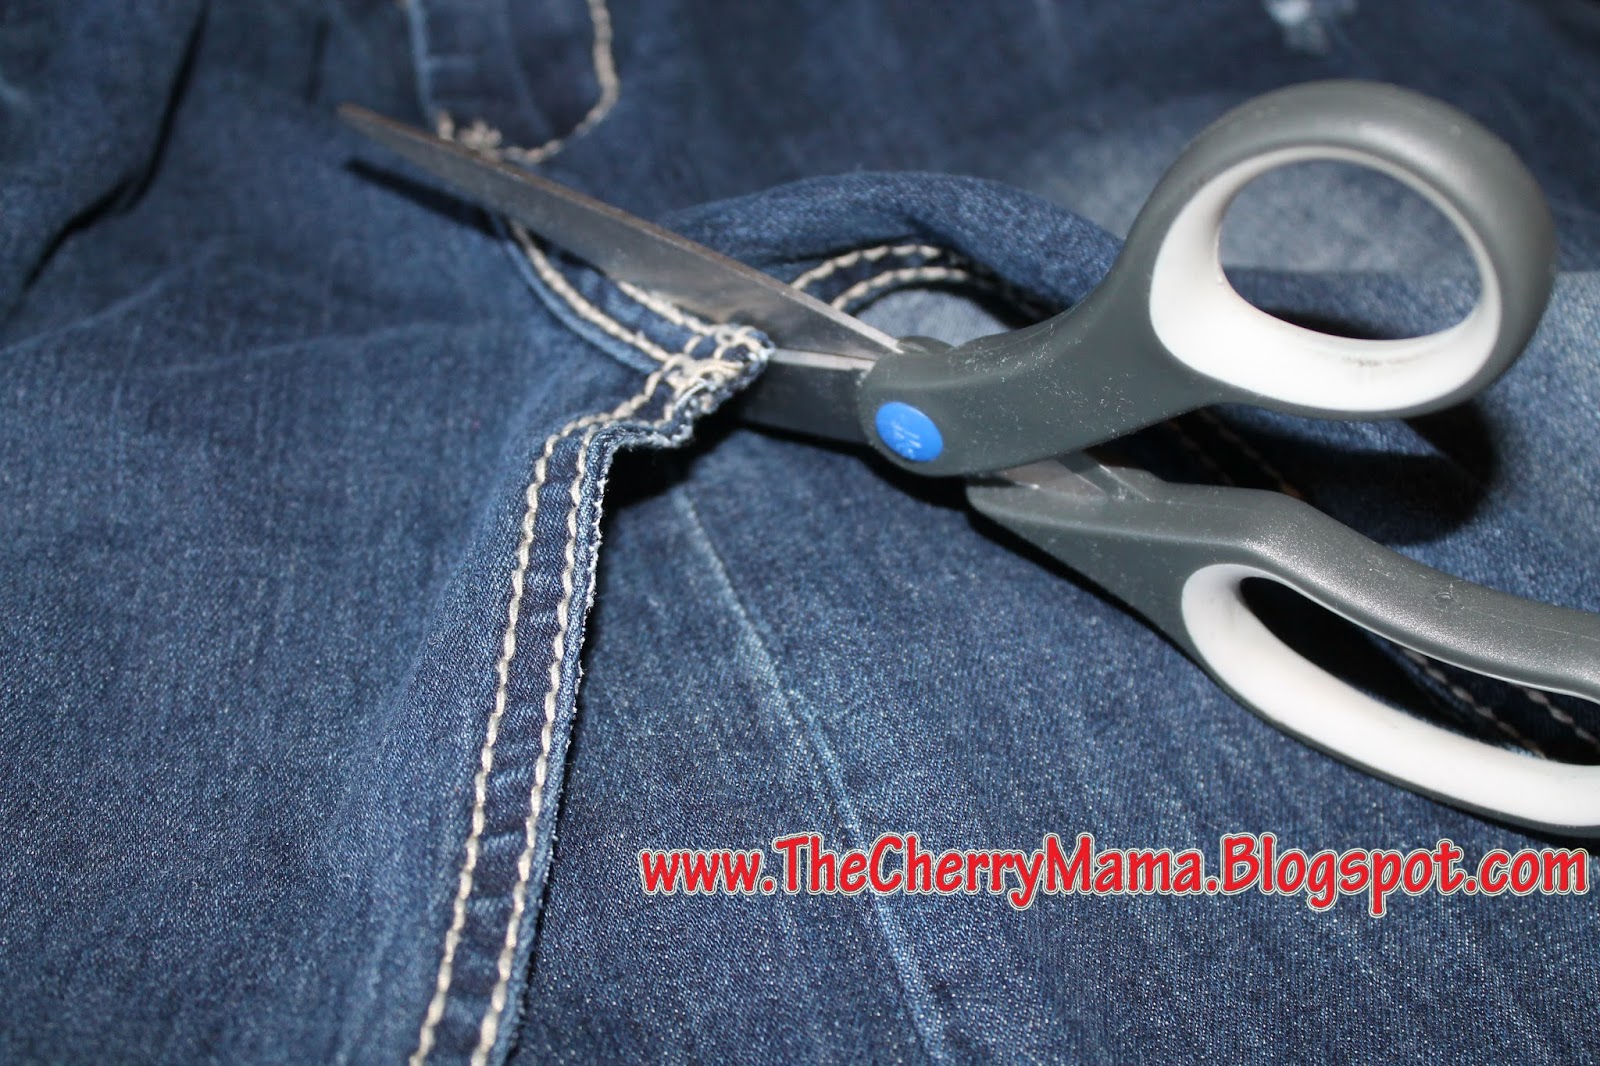
Here's a little trick! A lot of people were having a problem with the front laying flat. It's really just applying what you will be doing to the back, with a special detail. Cut up the curve just slightly, then cut out that square where all the seams come together. You want to cut enough to bring them together into a triangle so it will lay flat. 

Pin in place, and pin the rest of your skirt.
A little trick for a fuller skirt. Pinch up the middle of the patch piece, then pin.
 (Or flatten completely.) 
Before I started sewing I sewed the crotch by hand to ensure it was straight, 
and came together neat.
Time to sew! I chose to sew on the out side of the original pant seam. I wanted a layered look, almost like a petti coat. I also get more fraying for the Boho look.
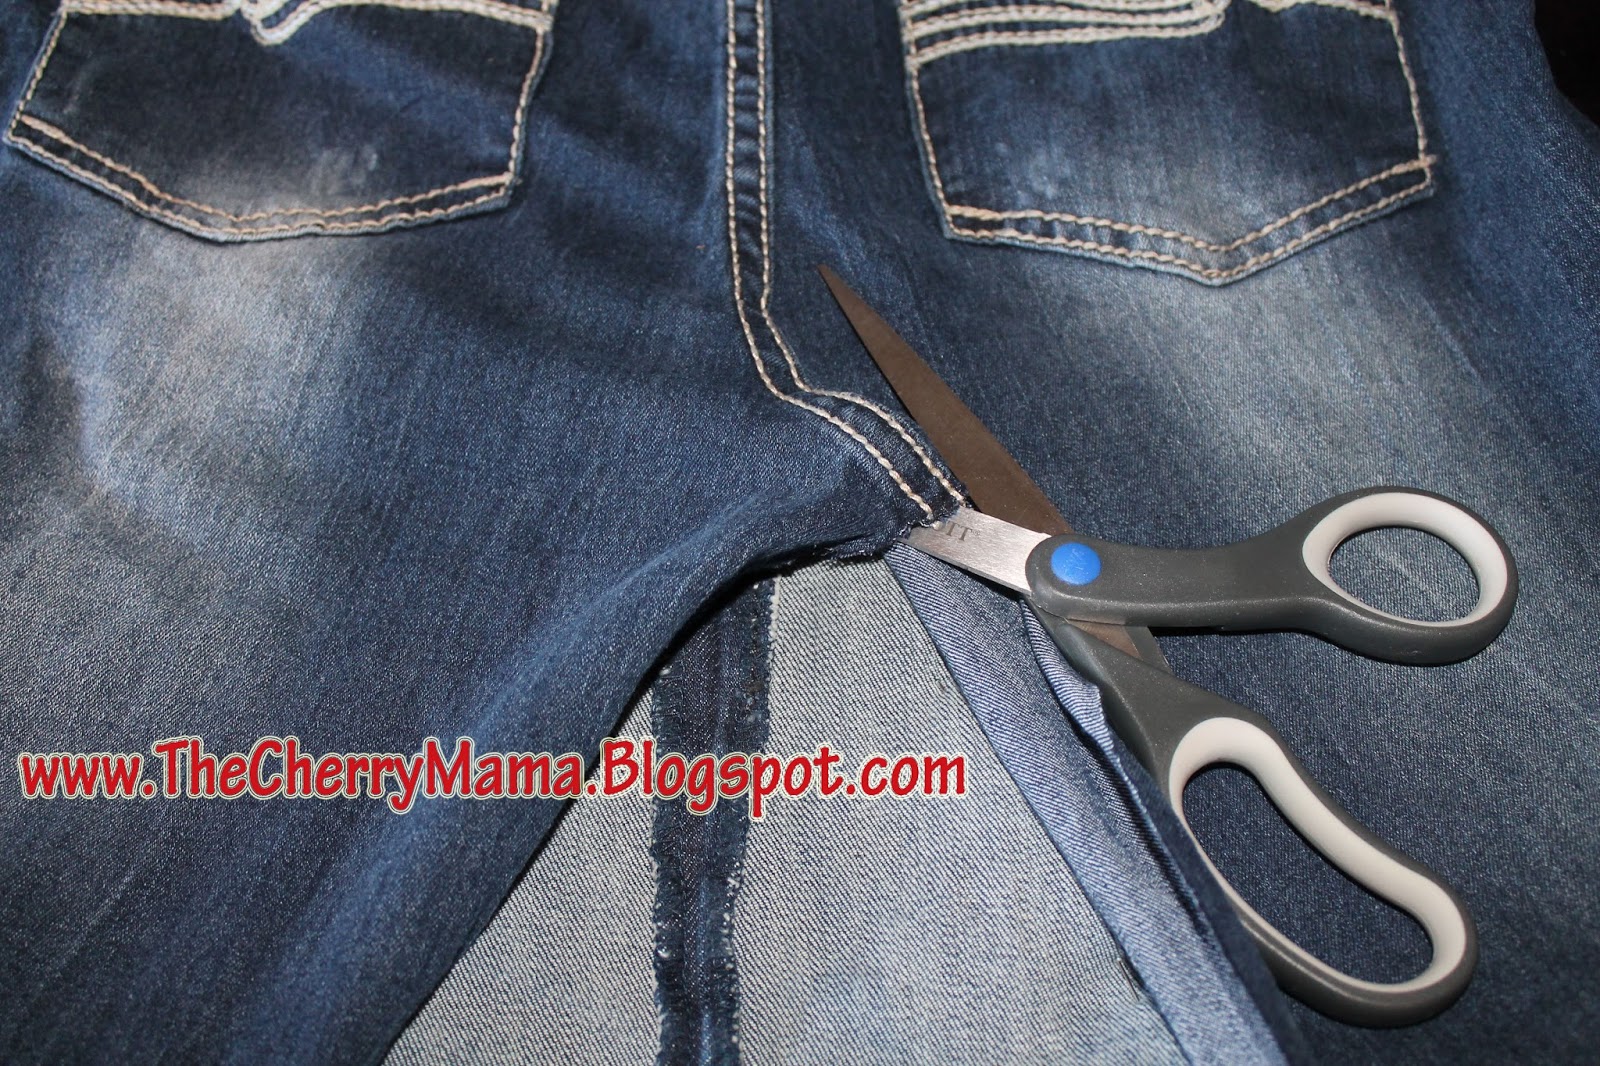
Flip! And repeat cut up the curve on the backside. About 2 inches, or until you see it laying flat. Cut again on the other side of that seam to remove! 

You now have that extra fabric, starting at the bottom, cut to remove.
 I used a ruler and drew a line with chalk so I didn't do an 'oopsie'.

Pin (again pinching up some fabric for fullness if desired) and stitch! Again I left the raw edge and a small allowance to allow for fraying.  You can just leave the fraying for the front and tuck under a hem if you wish.
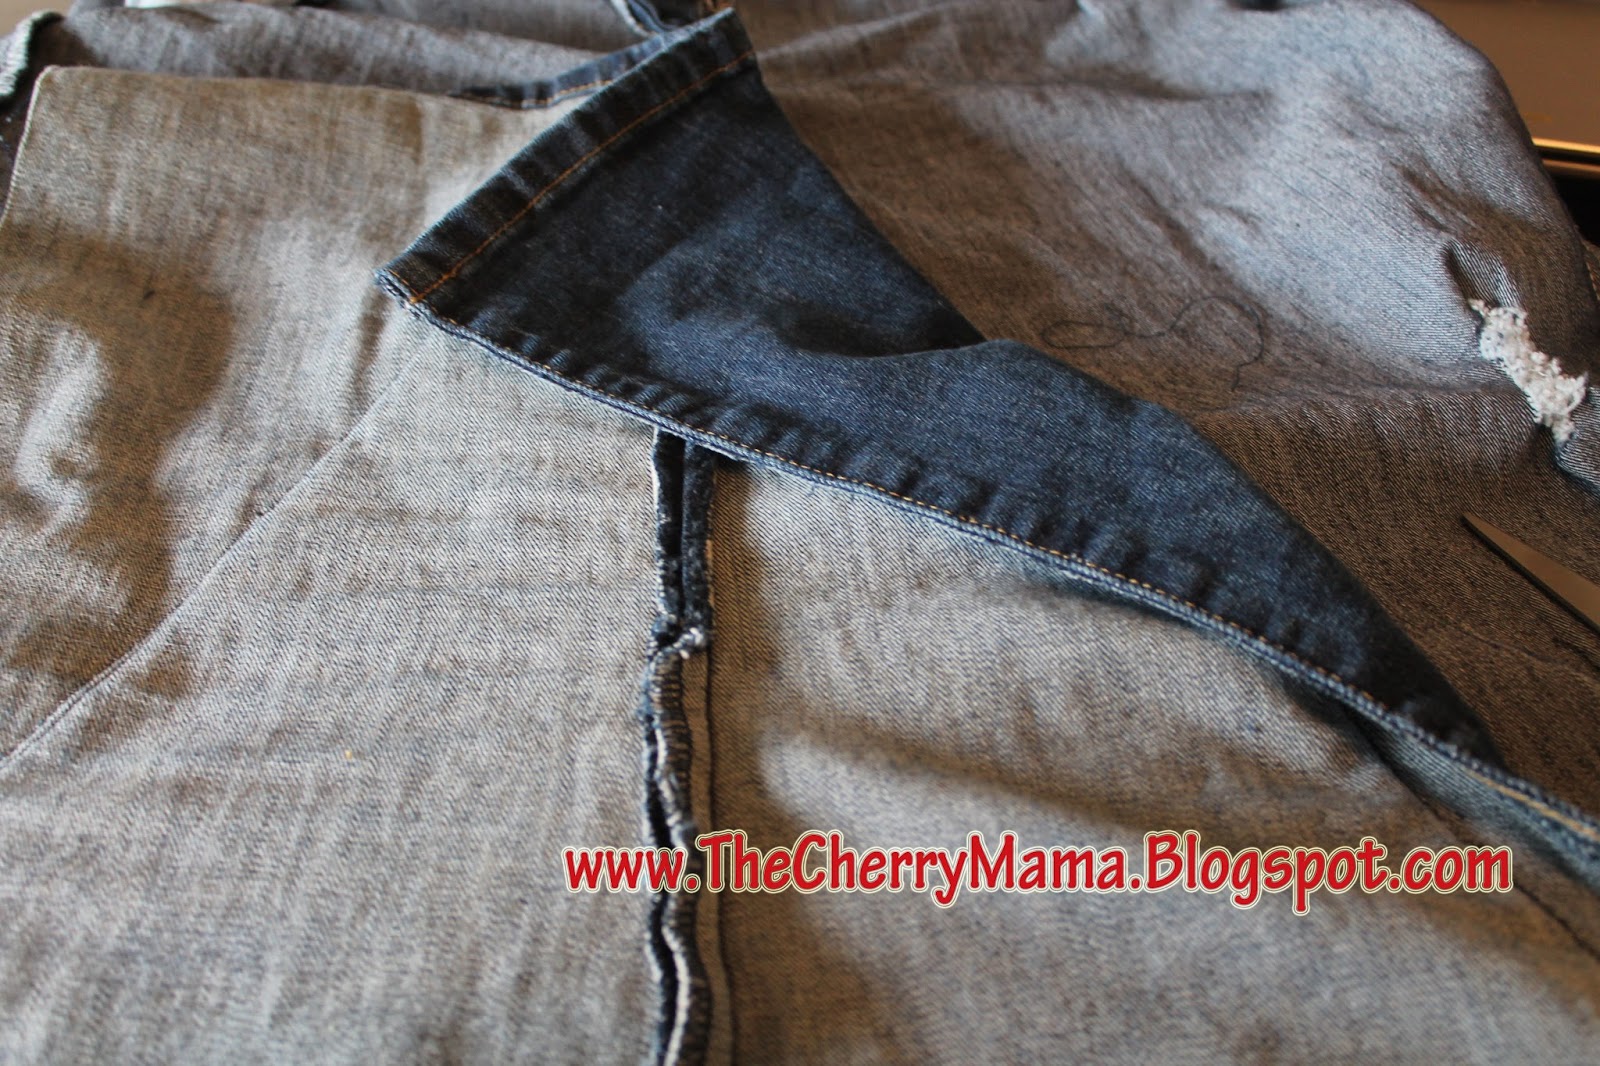
Now flip inside out and cut away all that left over fabric from the patch! 
Cur around the bottom and wash to fray. You're done!
Here is my skirt from the crop's and my jeans. These are my Instagram pics. Follow me there to see my projects as they happen. 

I have received nothing but compliments from these skirts! (Even cute old Veterans in Rascal Scooters.) LOVE LOVE. 

Friday, August 2, 2013

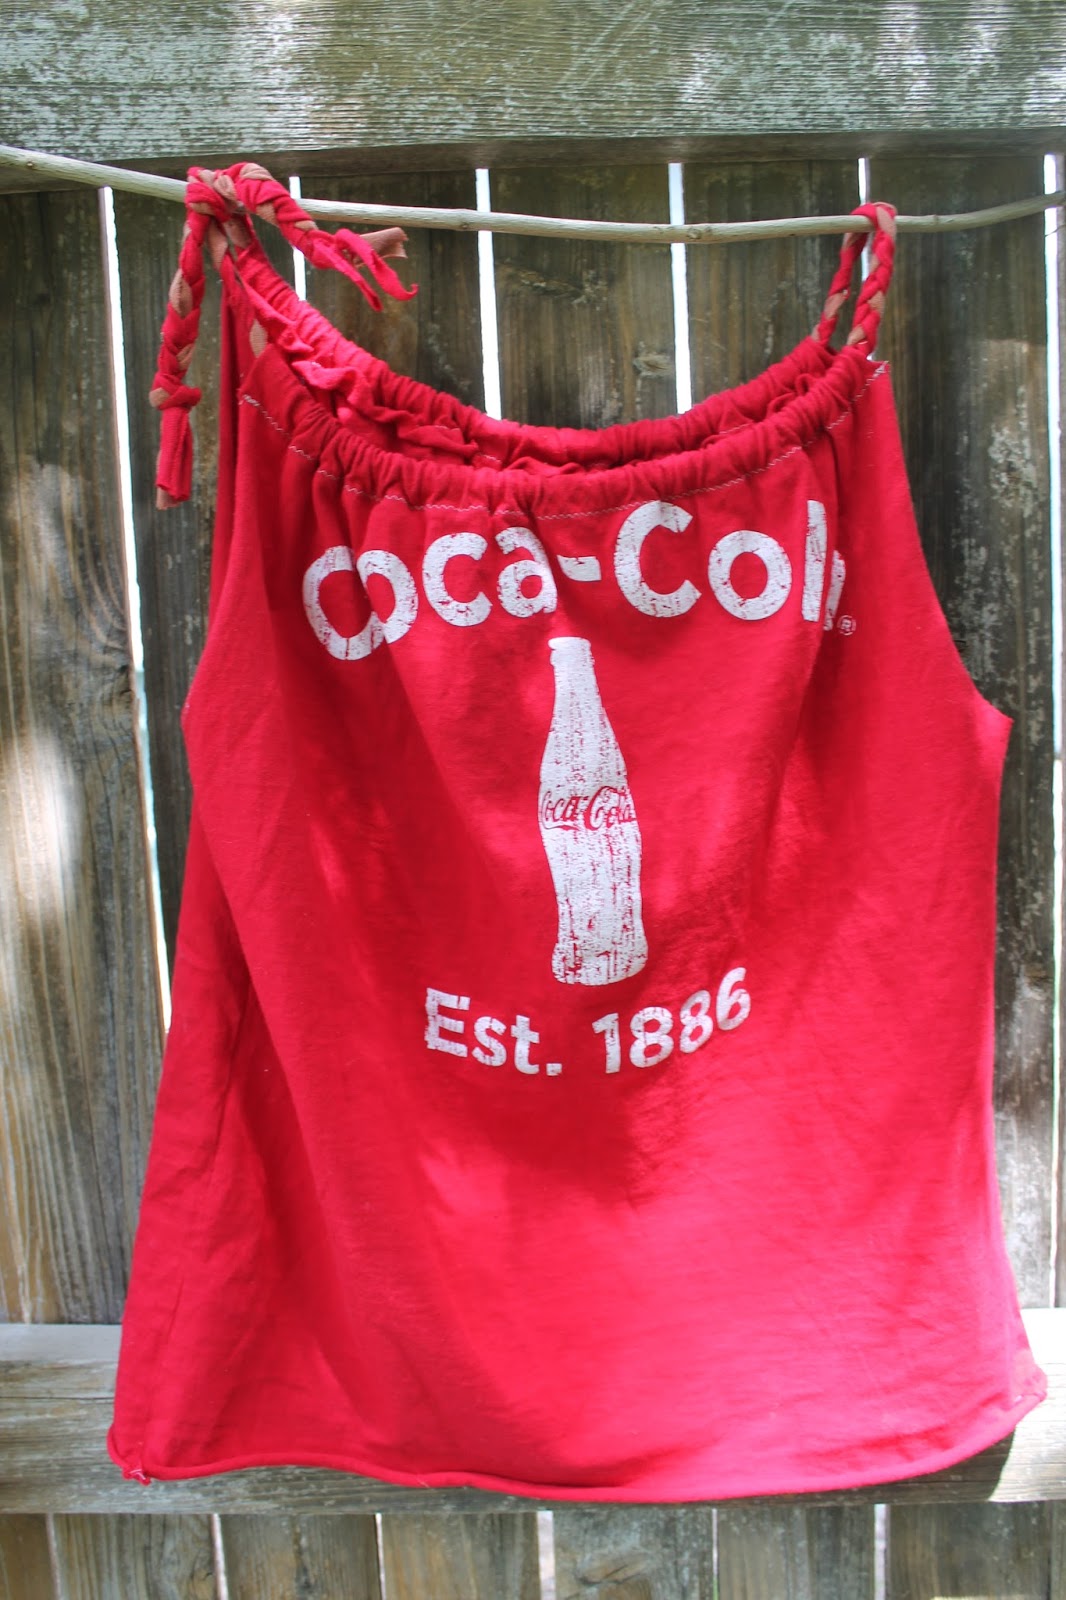
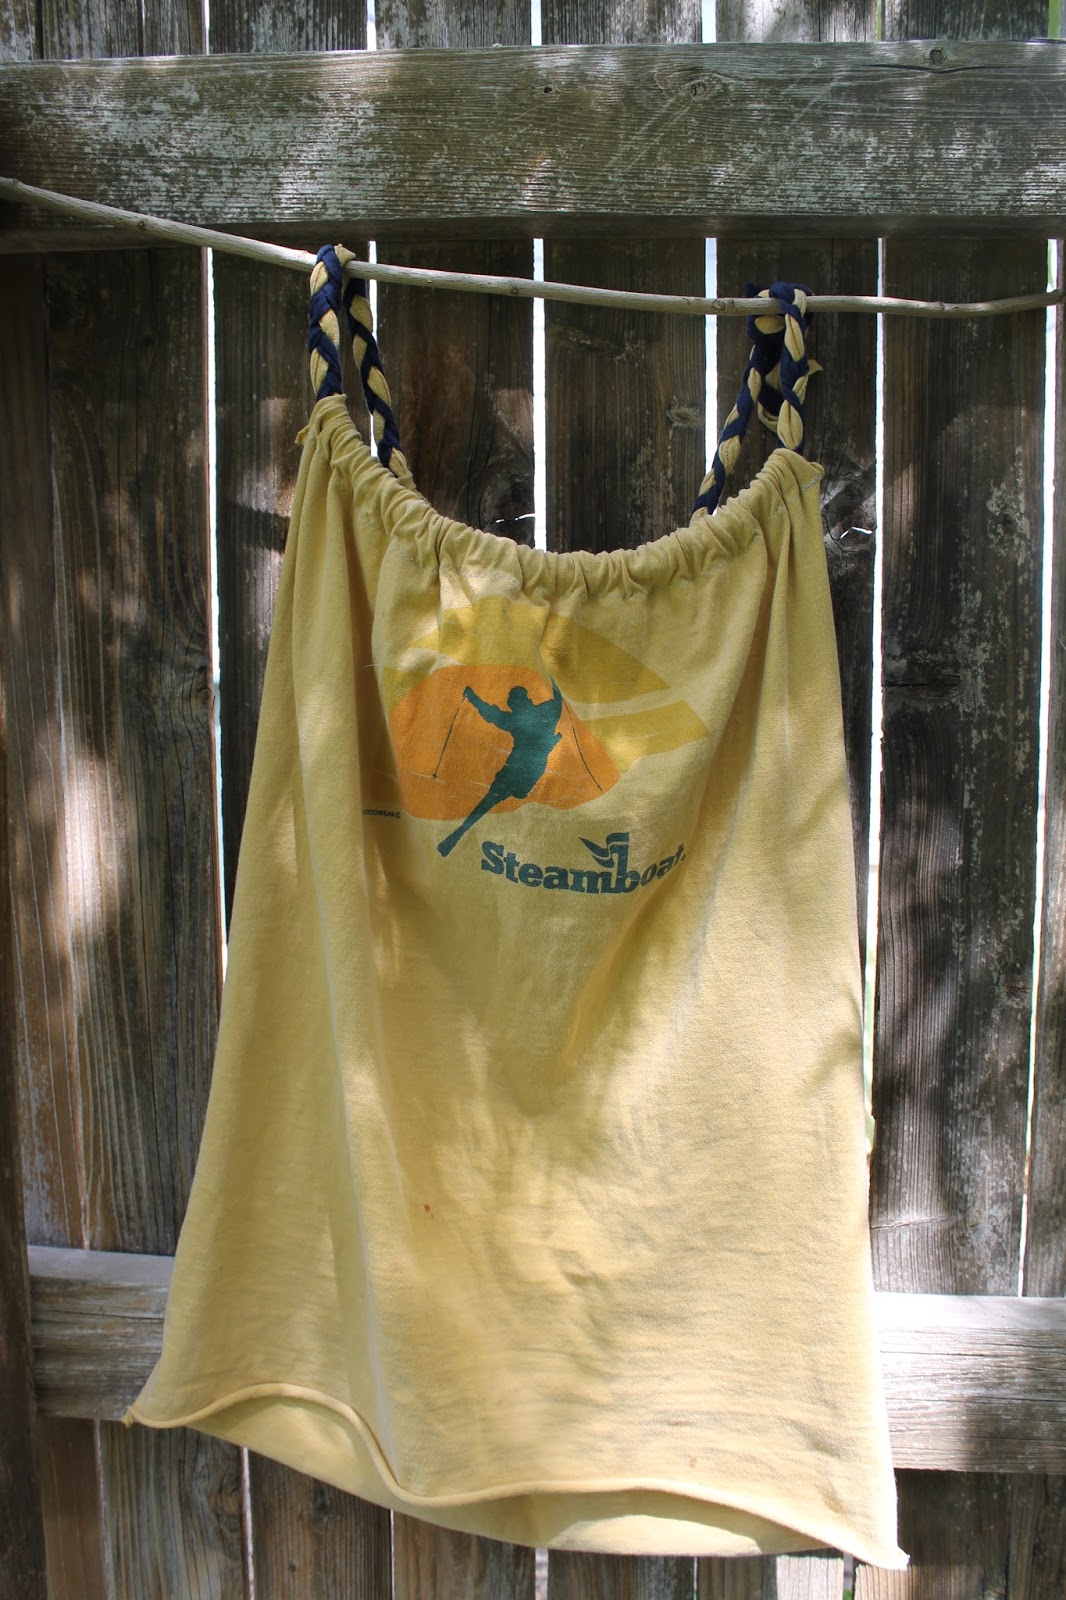
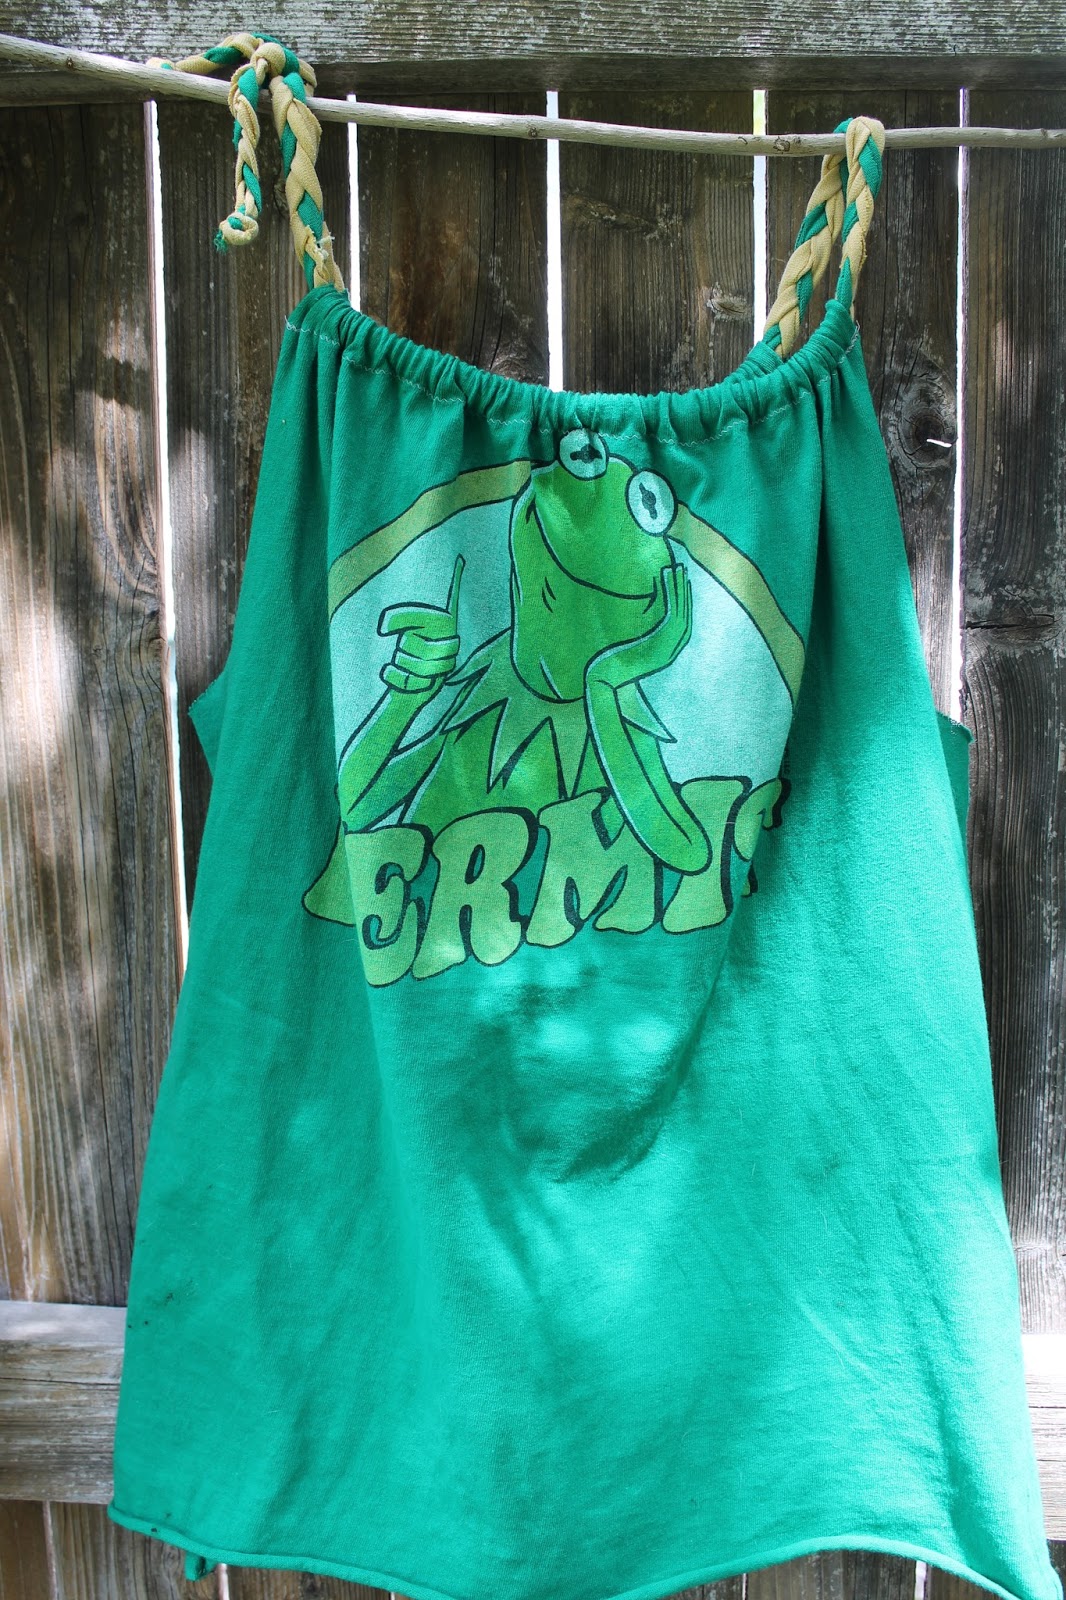
Summer's last hurrah! A Mens Tee Refashion, For A Girly Tank.


I love July, I have mentioned this before. But just as Summer is in full swing it's the beginning of the end. Fall fashions hit stores, back to school supplies appear, and it's miserably hot. Then there's Indian Summer that ruins all those plans for those new transition outfits for Fall. It's also tempting to hit those Summer sales, but I don't want to blow my fall budget of stuff that has an expiration date on it. 
In  'keeping-mommy-busy' tradition I extended my wardrobe with this really fun refashion. I had found a simple tutorial, but I didn't do much with it at the time because I didn't have any shirts to use. 
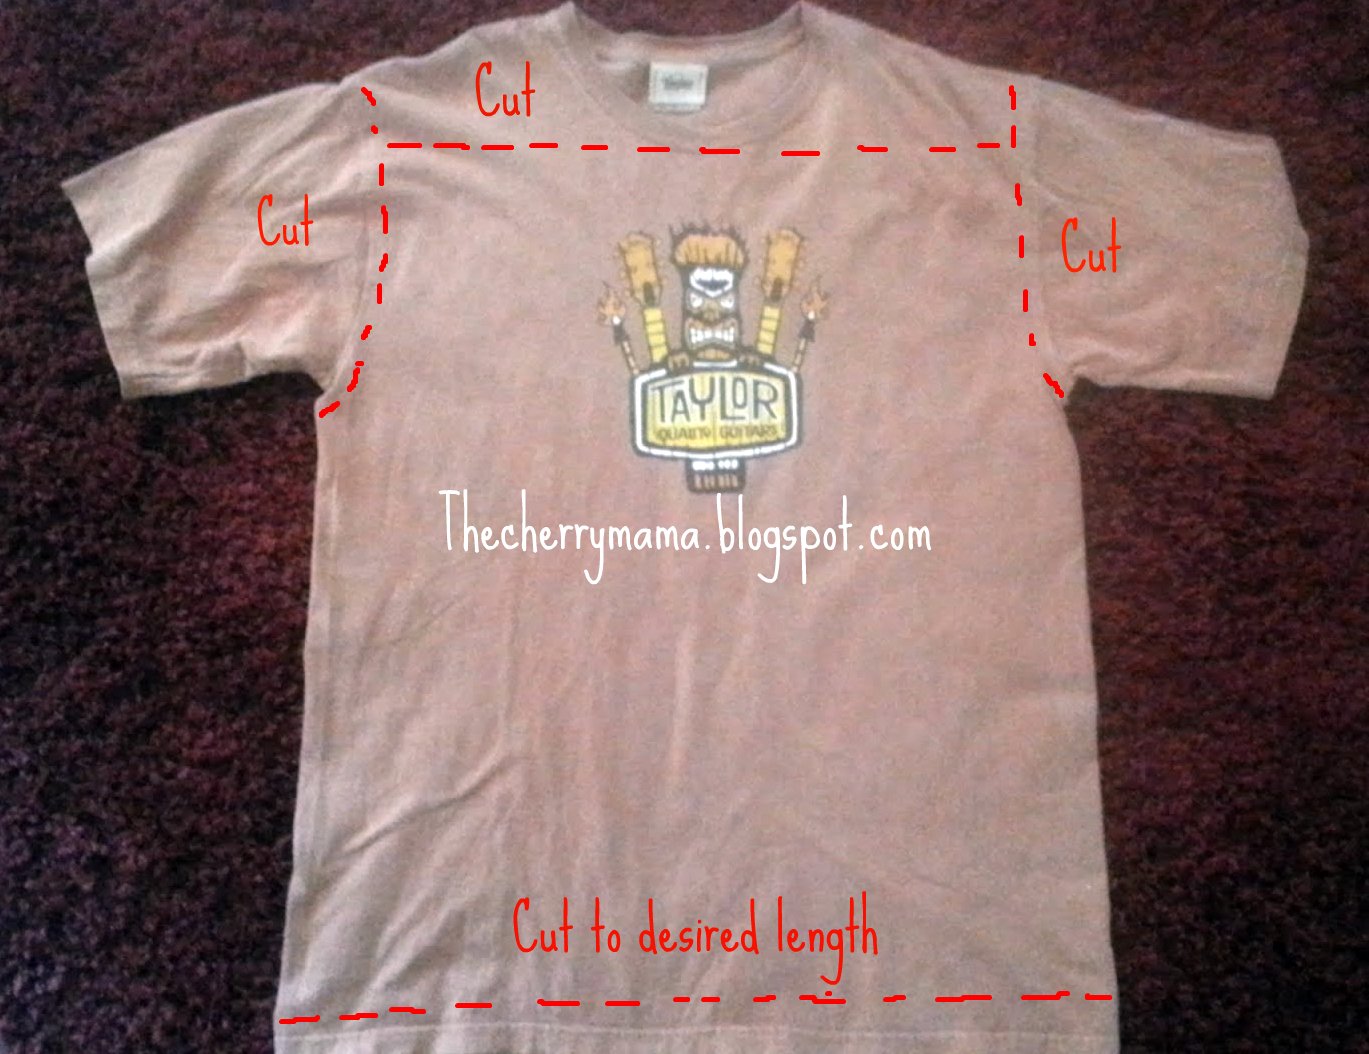
 I  wanted something  a little more fitted and feminine. So I added a couple of more stitches, and some special detailing and hurray: A men's tee fit for a woman! After a trip to the the thrift store I was ready to go! Because I was making a more custom fit I didn't worry about the sizes. I just hit up the mens tee's and found some cuties!
 Save your scraps, there are many ways you can make the tie!

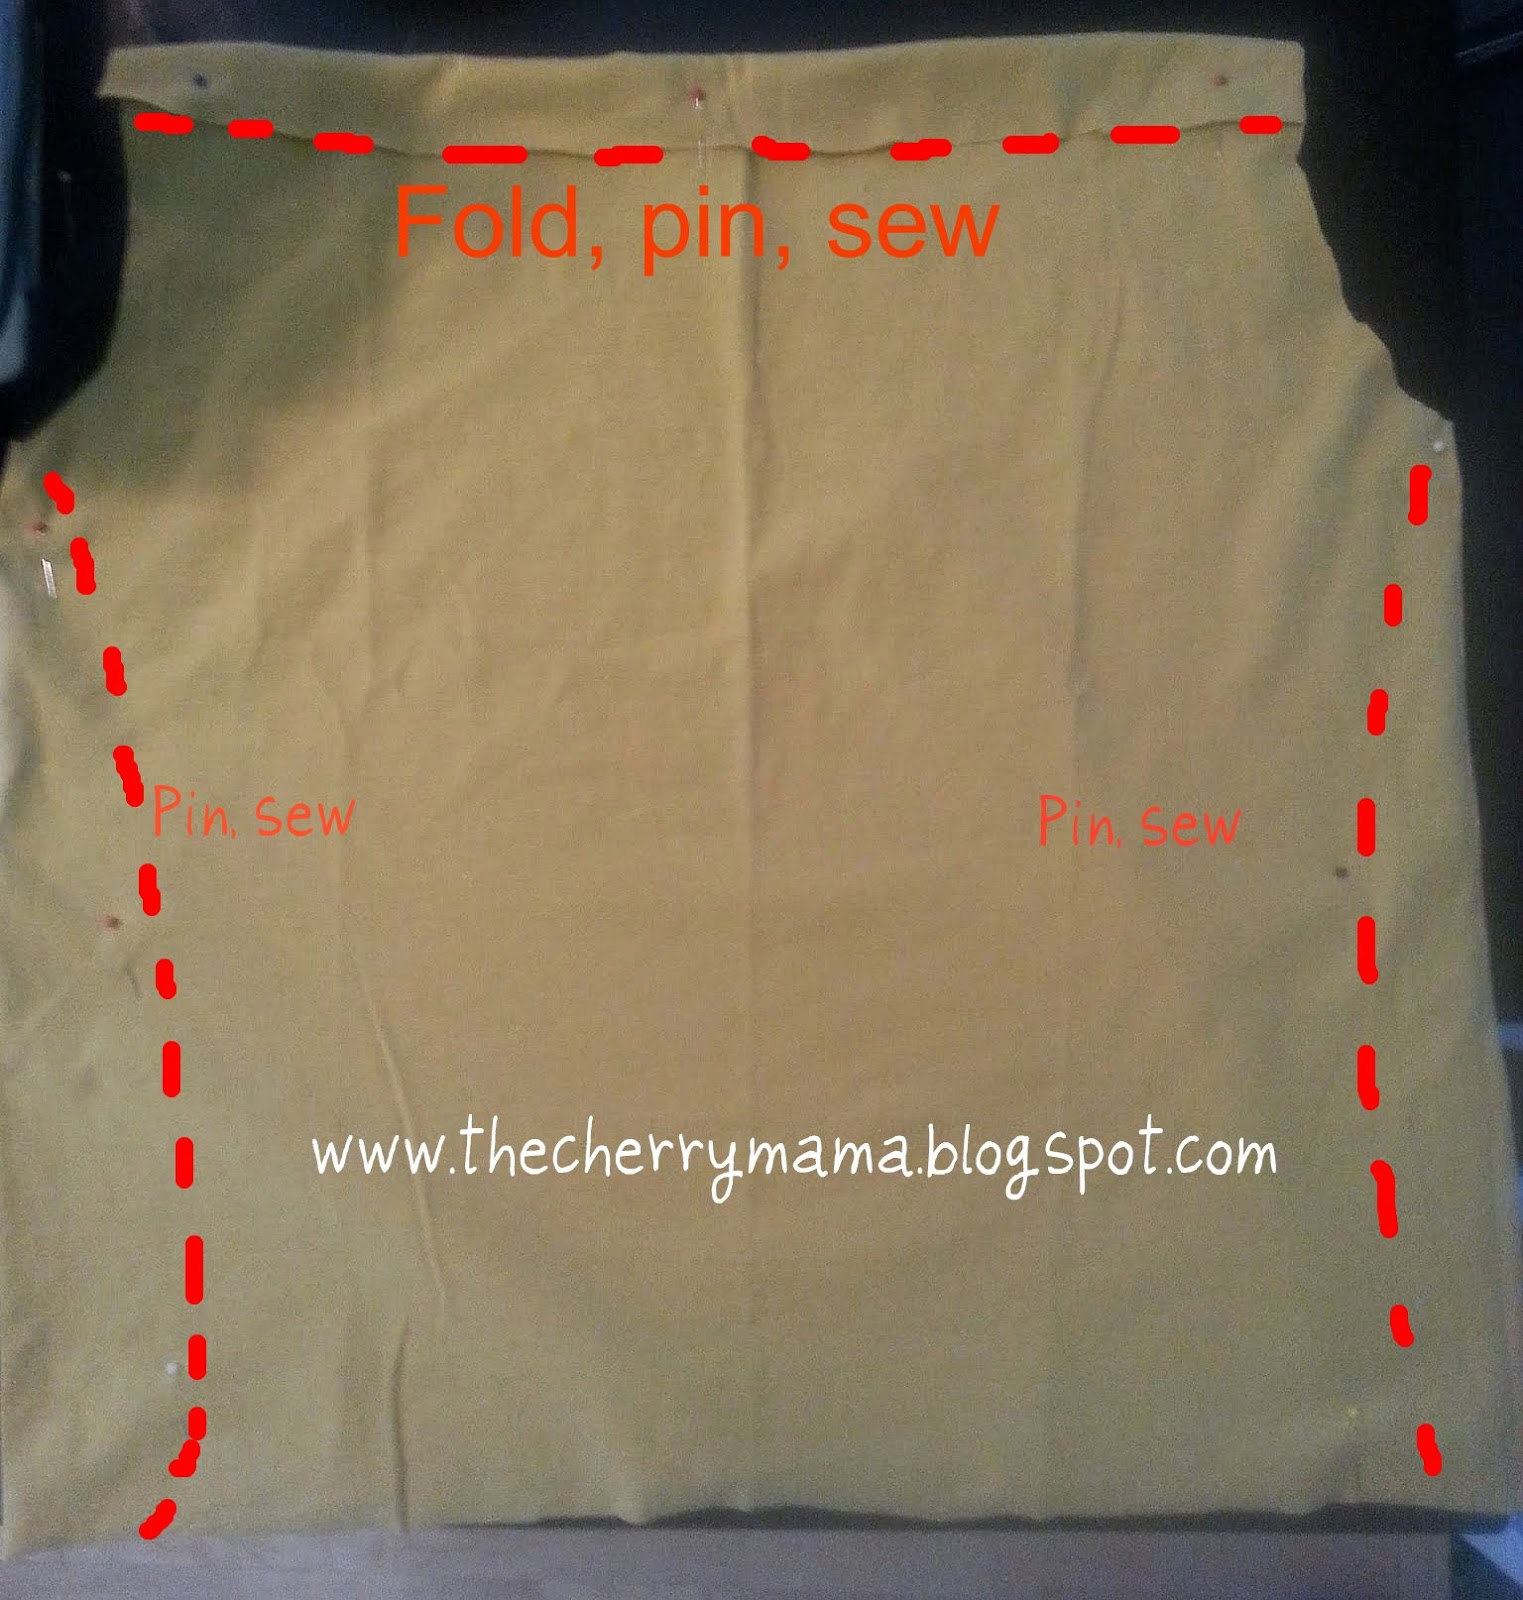
You want to fold enough over to thread your strap through, depending on if you are doing a braided tie or just a cutting from the bottom.
I tried it on and pin the sides for a custom fit. I didn't cut off the extra until I was done (with a few more fittings)!

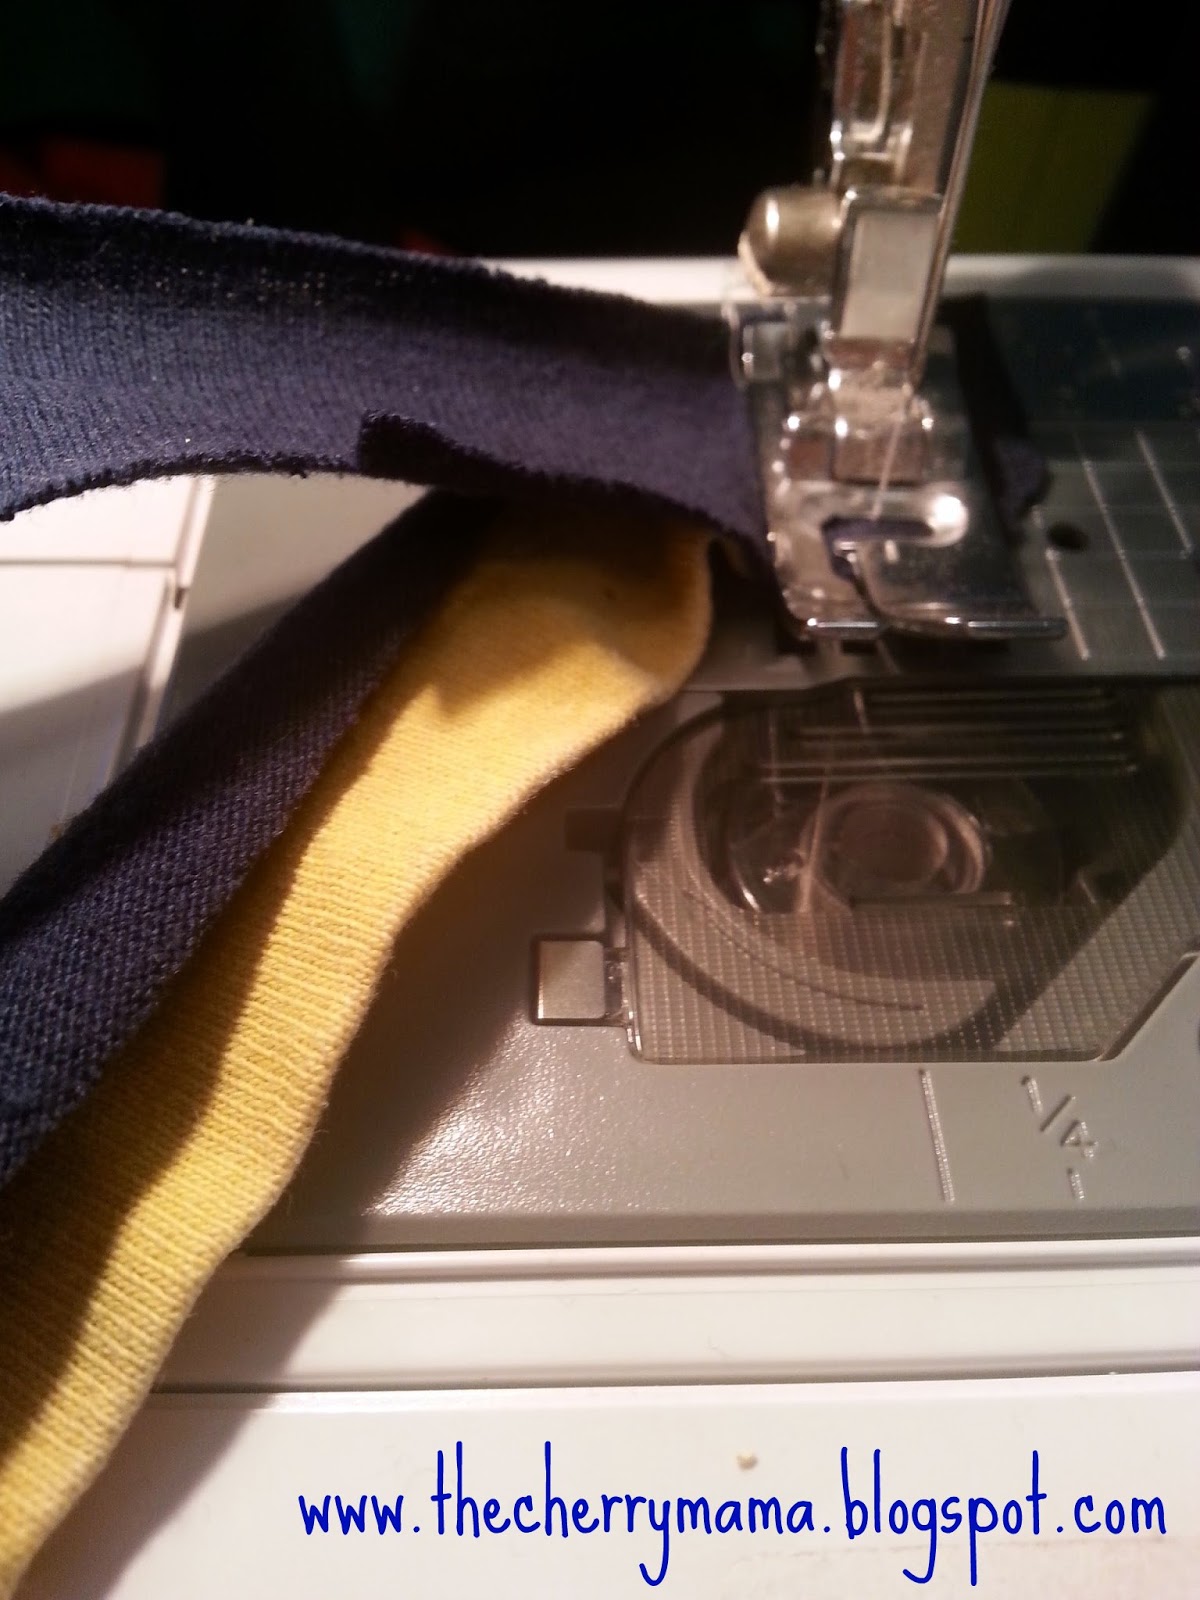
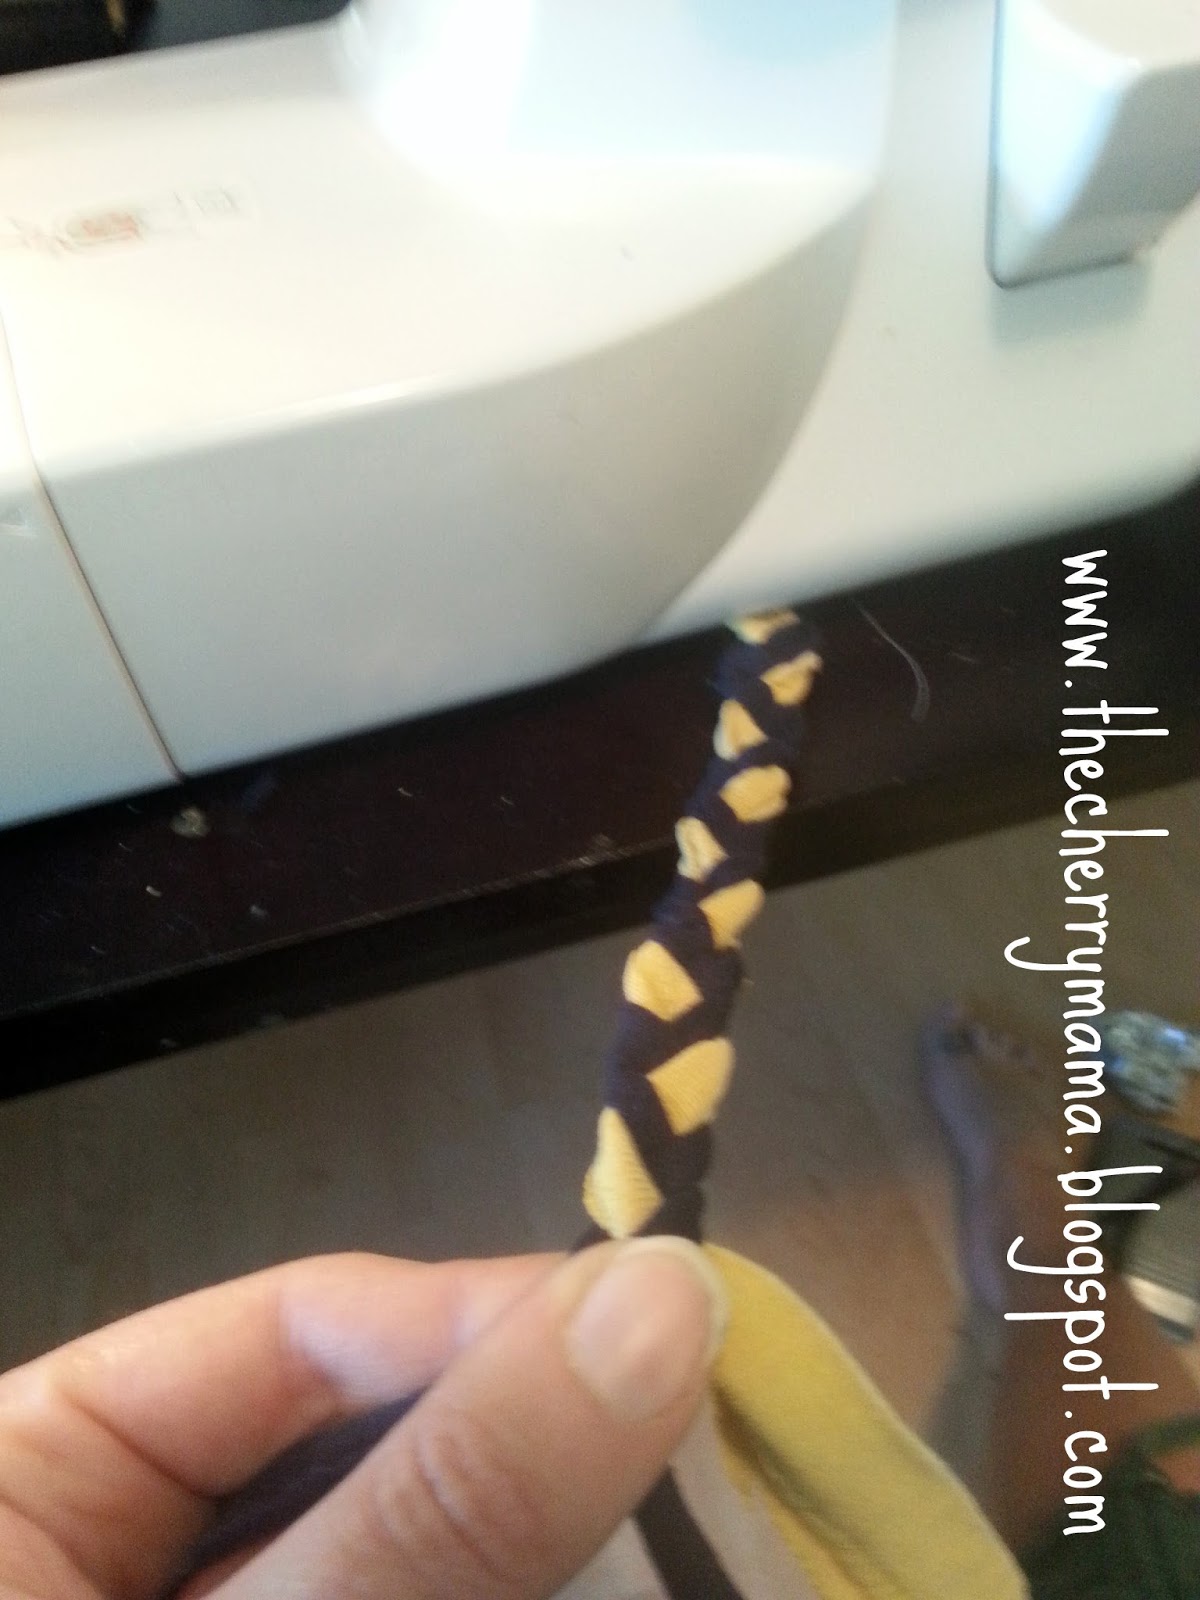
Theres a few ways you can make your straps. You can use the strips off the bottom, cut, thread and tie.
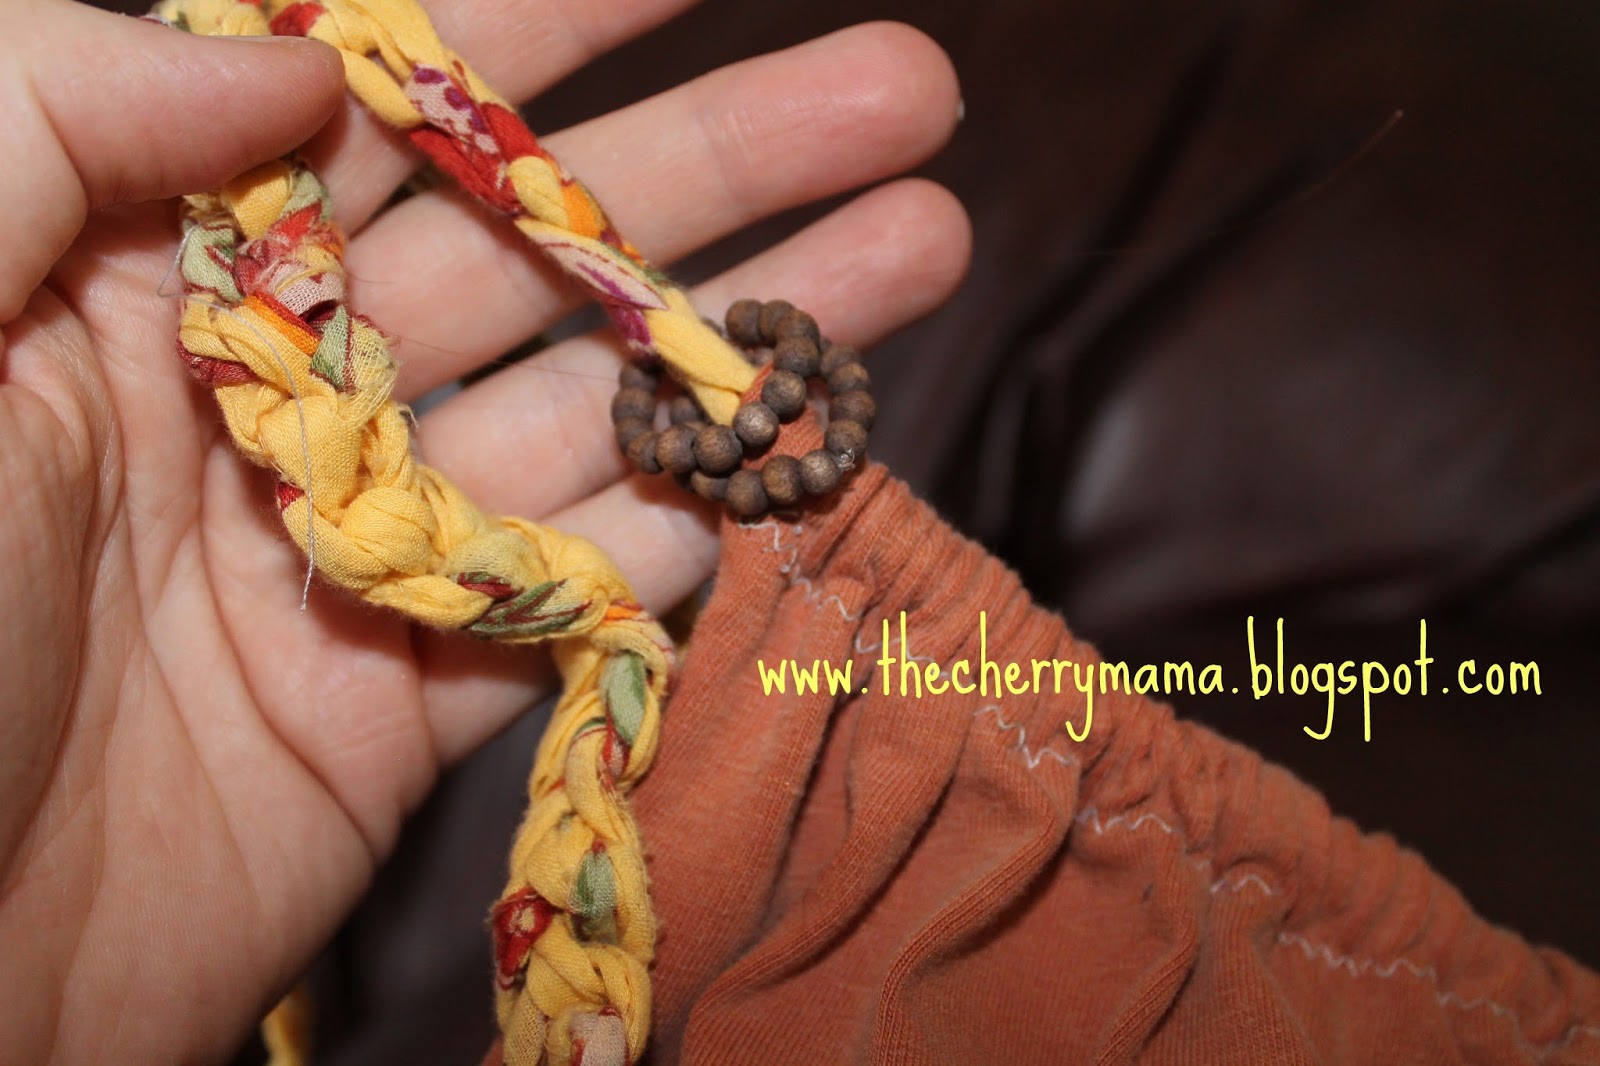
I used the sleeves and cut them in a spiral to get one long piece, and then braided. I used up all my sleeves from other shirts to do this. Got some great color combos!

Add small details.

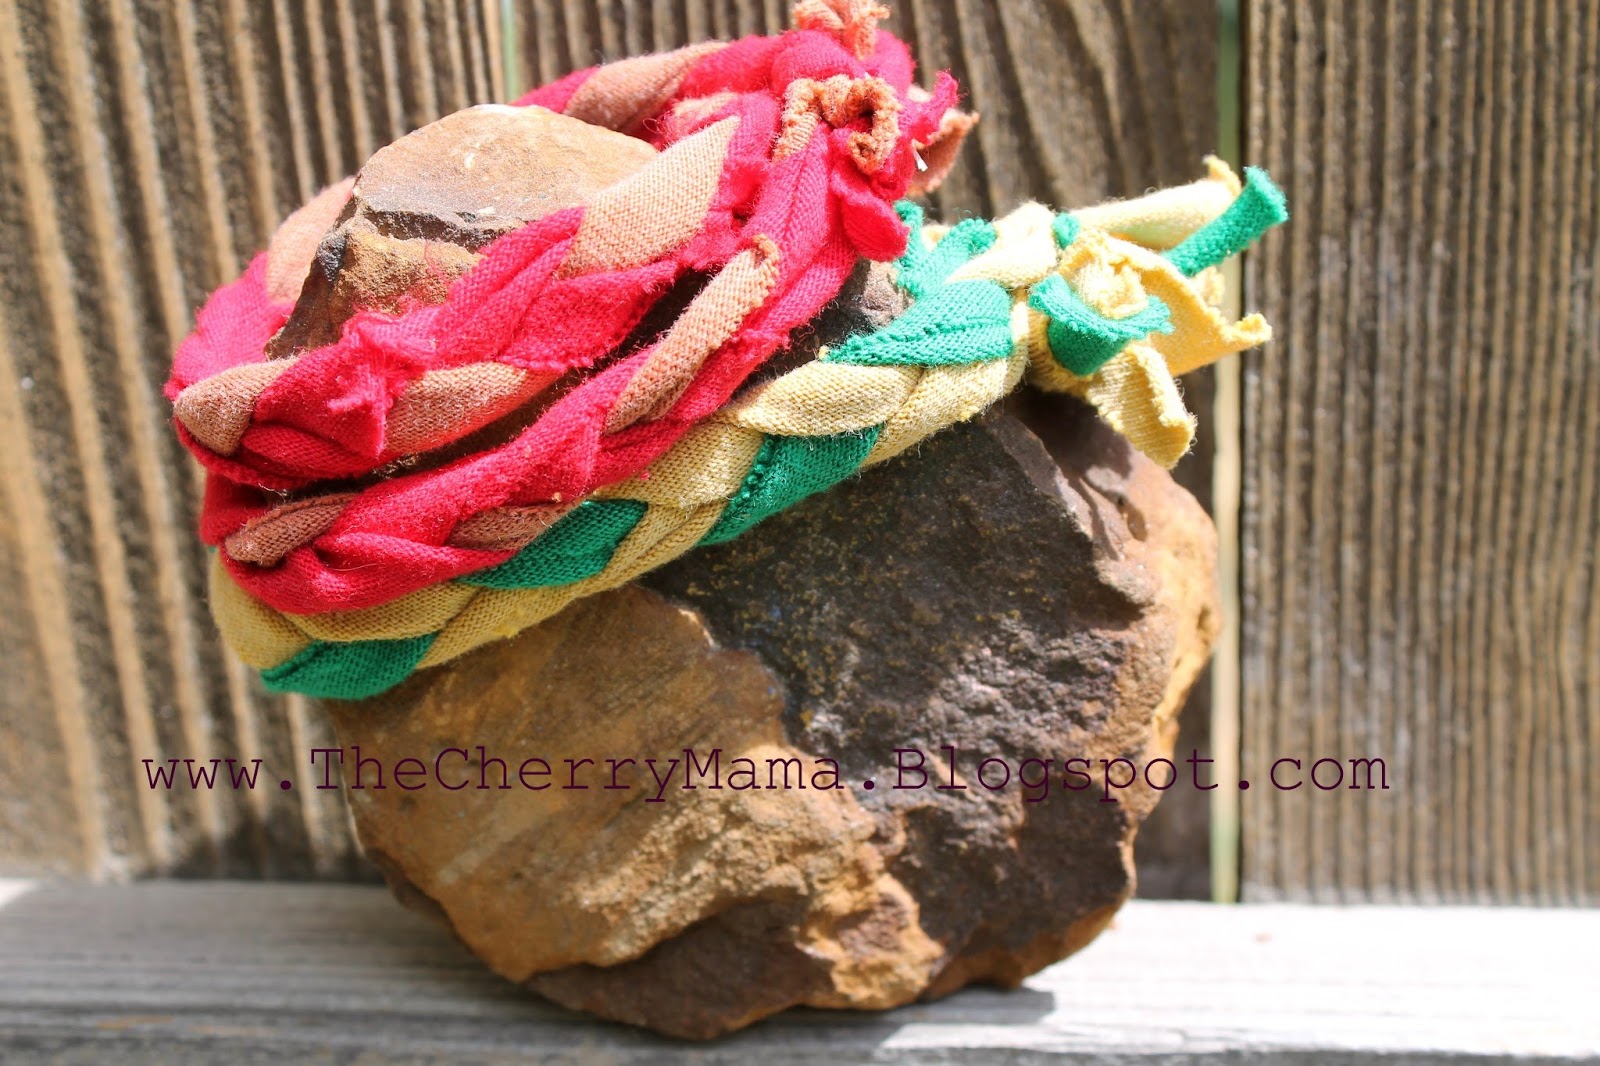
Recognize the fabric? Leftovers from the Rag Rug Project.
Added some cute wooden beads too.

Other small details you can do is some ruching on the sides to make a banded bottom.


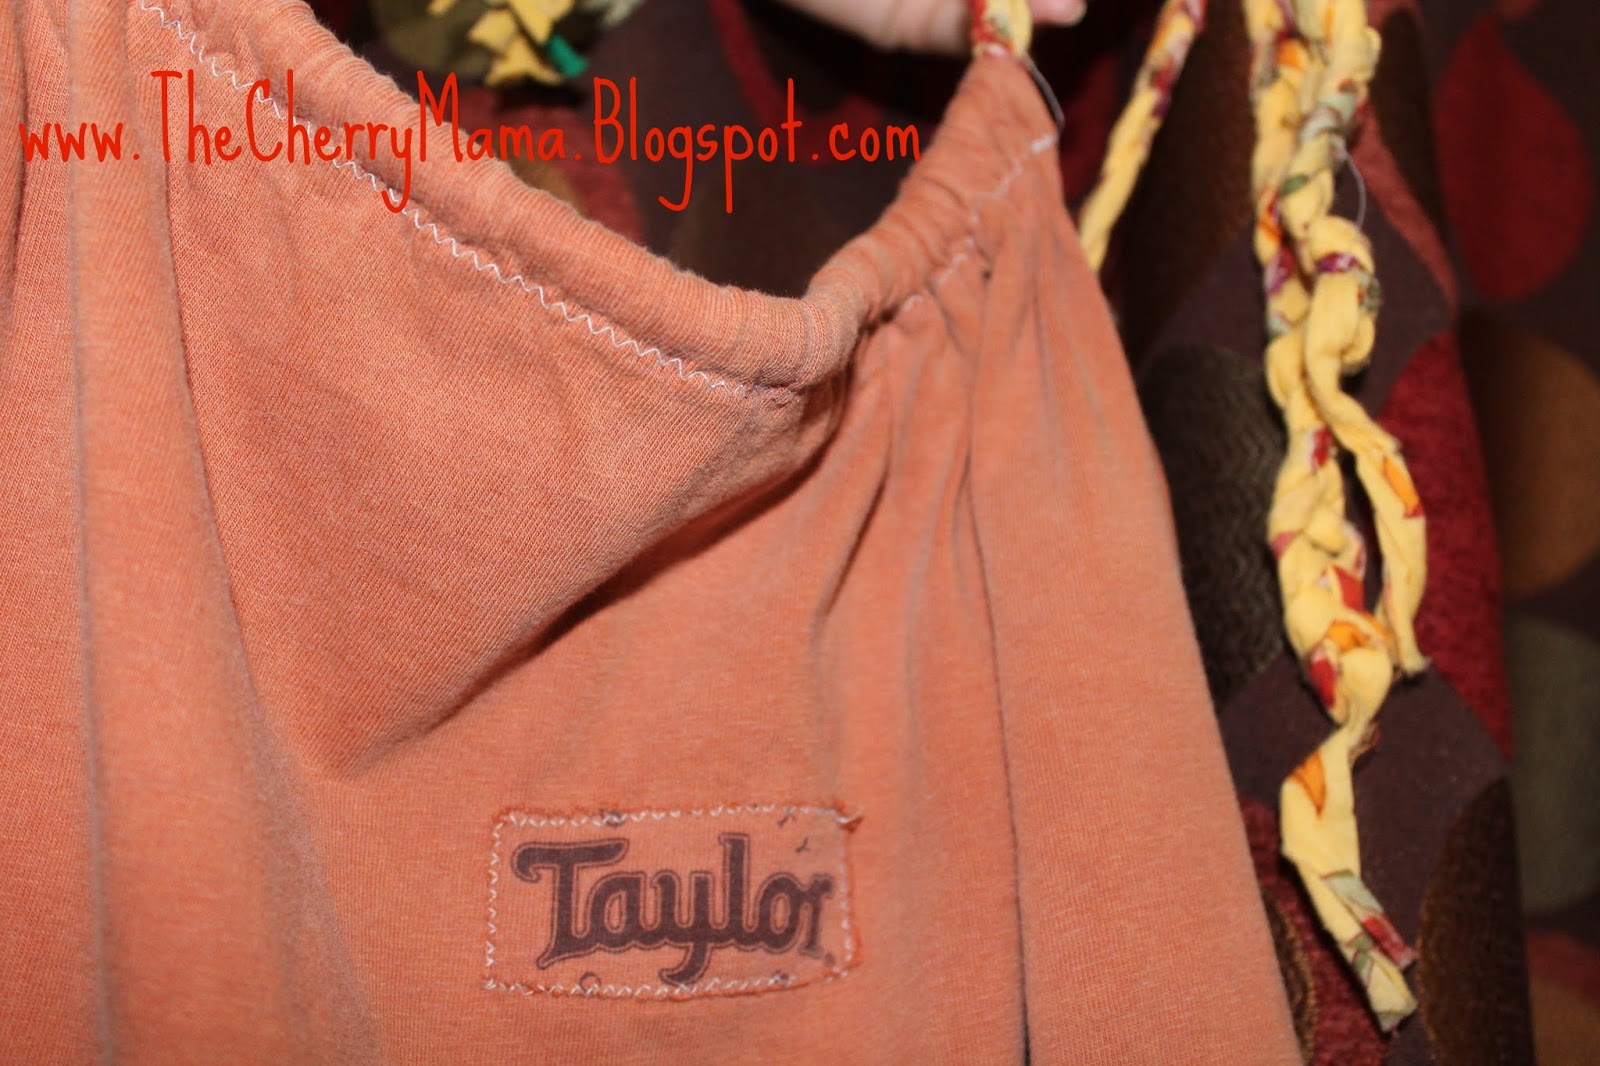
Sometimes tee's have logos on the back. I cut it out so I could add it back to mine.


All that leftover tee shirt material= cute bracelets.


Saturday, March 30, 2013

One seam PJ's and a use for old bed sheets, a Camera phone tutorial!

Only I can take the easiest PJ tutorial, and find a short cut. But I personally am proud because I am calling it a repurpose (sneaky cheat move).

I have accidently held on to some bed sheets that just don't fit any of the beds in the house, and my eldest daughter has grown out of a set too. I also didn't want to spend any money on making PJ's pants. I had some old Nightmare before Christmas sheets and I knew I had to use them for something. I was also hanging on to a link for a 'one seam PJ tutorial' link off Pinterest. I had to give the tutorial a try before I moved to the sheets. I used some remnants I had to make my son some. He was in a growth spurt so I had to make some things to hang out in the house. Because I would be washing the few pair of nice pants constantly (he is the spit up King). They were easy to whip up. After that I was hooked! Holla! <---Said that!

The tutorial calls for a cute cuff that you can make in different but coordinated fabric. I was like, “Nuh-uuuhh, this is supposed to be The Lazy Mama's tutorial!”. Then I was like, '”Ah-ha!”. You know why? Your old flat sheets and pillow cases already come with a ready made hem, and cuff. And if you have an older nicer flat sheet might have that ribbon detail! There you go I just Lazy-ified easy! I mean I got crafty on crafty!


Lay out your fabric, or flat sheet. You will be tracing plus a bit (seam), around a pair of pants, or other PJ's. 

Fold your fabric lengthwise, this will create your first leg, and one less seam! Pa-pow!

easy one seam, ready made cuff PJ tutorial
At this moment I realized I am wearing the pants I want to trace... so it is now a, 'ass out' tutorial!

Fold your pants in half and trace and cut. You now have your pattern, use the one you have just cut, and trace again on another folded area of your fabric.

Image

Easy! Make your own PJ pattern.
When I am winging it making my own pattern I do take a moment to pin it the two legs on top of each other just to trip up and make sure it's not all out of whack!

Now you should have two legs! Open them up, sew just the crotch on either side.

easy PJ tutorial
Open them up! Then stack them.

Easy PJ tutorial
When they the two legs are on top of each other make sure they are inside out! Because next you will start to sew.

Easy PJ tuutorial
The pins mark where you will be sewing

Easy PJ tutorial
Pins show where you will be sewing first. Remember you are only sewing the rise first.

Now fold them back so you are looking at the front of them, you now have PJ chaps! Just sew the inseam of each leg. Remember you already have your bottom seams done :-)

Easy PJ tutorial
By now you are on the radar of your kids, they will be such great helpers (ahhhh!). There ya go, the rise (crotch) sewn, and folded back to look like pants.

To make a waist band, simply fold over the width of your elastic with a little room for your seam. Too much you risk rolling elastic, to tight, well your elastic just won't fit :-) Sew all the way around leaving about an inch to feed your (measured to your PJ recipients waist) elastic through by using a safety pin.

Easy PJ tutorial
Measure your waist band.

Easy PJ tutorial
Sew around creating a waist band, leave room though! You have to thread your elastic.

Easy PJ tutorial
Sew your elastic together, before you sew up the opening.

When all the way through sew your elastic together, then sew up your hole.


DONE!

Easy PJ tutorial!
Then I ran downstairs to my daughters room, only full length mirror with space. Love the haze? The toddler happened all over it! HA!Easy PJ tutorial

To see more pictures, or the tutorial with the cuff go HERE.