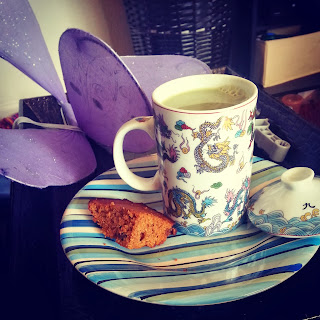
Working with coconut flour presents a challenge. That stuff loves to absorb any fluid you add. Here is my absolute no fail find! My fist try, perfection, definitely had to share with you.
 Best thing I love about this cake is you can sub your coconut flour for protein powder. YOU know I love cooking with it. (See this little protein cake for one here.) This Carrot Cake was moist, and stayed moist. It didn't even taste like it was 'healthy'! It stored really well too!
I did not use protein powder first time around because I fear its too sweet and would take away from the true carrot cake taste. But I will try it this next time around, because OMGPaleos' cake is actually a breakfast protein cake.( I can do that with breakfast!) But with coconut flour it becomes an any time cake. I love it with Matcha green tea in the afternoon.
♥ENJOY!♥
Paleo Carrot Cake
adapted from Carrot Breakfast Protein Cake.
Ingredients
- 2 large carrots, finely shredded
- ⅔ cup almond butter
- 2 eggs
- 3 tablespoons raw honey
- 2 tablespoons coconut flour OR 35 grams (or 1 heaping scoop) Vanilla Whey Protein Powder
- 1 tablespoon cinnamon
- ½ teaspoon baking powder
- pinch of salt
- ½ cup raisins
Instructions
- Preheat oven to 350 degrees.
- Shred carrots as thin as possible. Place in large bowl. ( I used a food processor worked like a charm)
- Add almond butter and eggs and mix well.
- Then add honey, protein powder, cinnamon, baking powder and salt and mix well.
- Fold in raisins.
- Grease an 8×8 glass baking dish with coconut oil, pour batter into the dish and place in oven. Bake for 35 minutes or until the top of the cake has a nice crust to it.
- Let cool before cutting.
Notes
The original recipe made 8 servings, I cut mine smaller in an 8 x 8 glass dish to make 12 servings.
My recommendation: (and I will always say this) get a hand held emulsion blender! It will mix your paleo treats better, faster, with less mess. You really want your ingredients mixed to truly appreciate, and taste the natural flavors.


I cannot wait to try this! Thanks for sharing on this #LOBS weekend! XO. ~A~
ReplyDelete