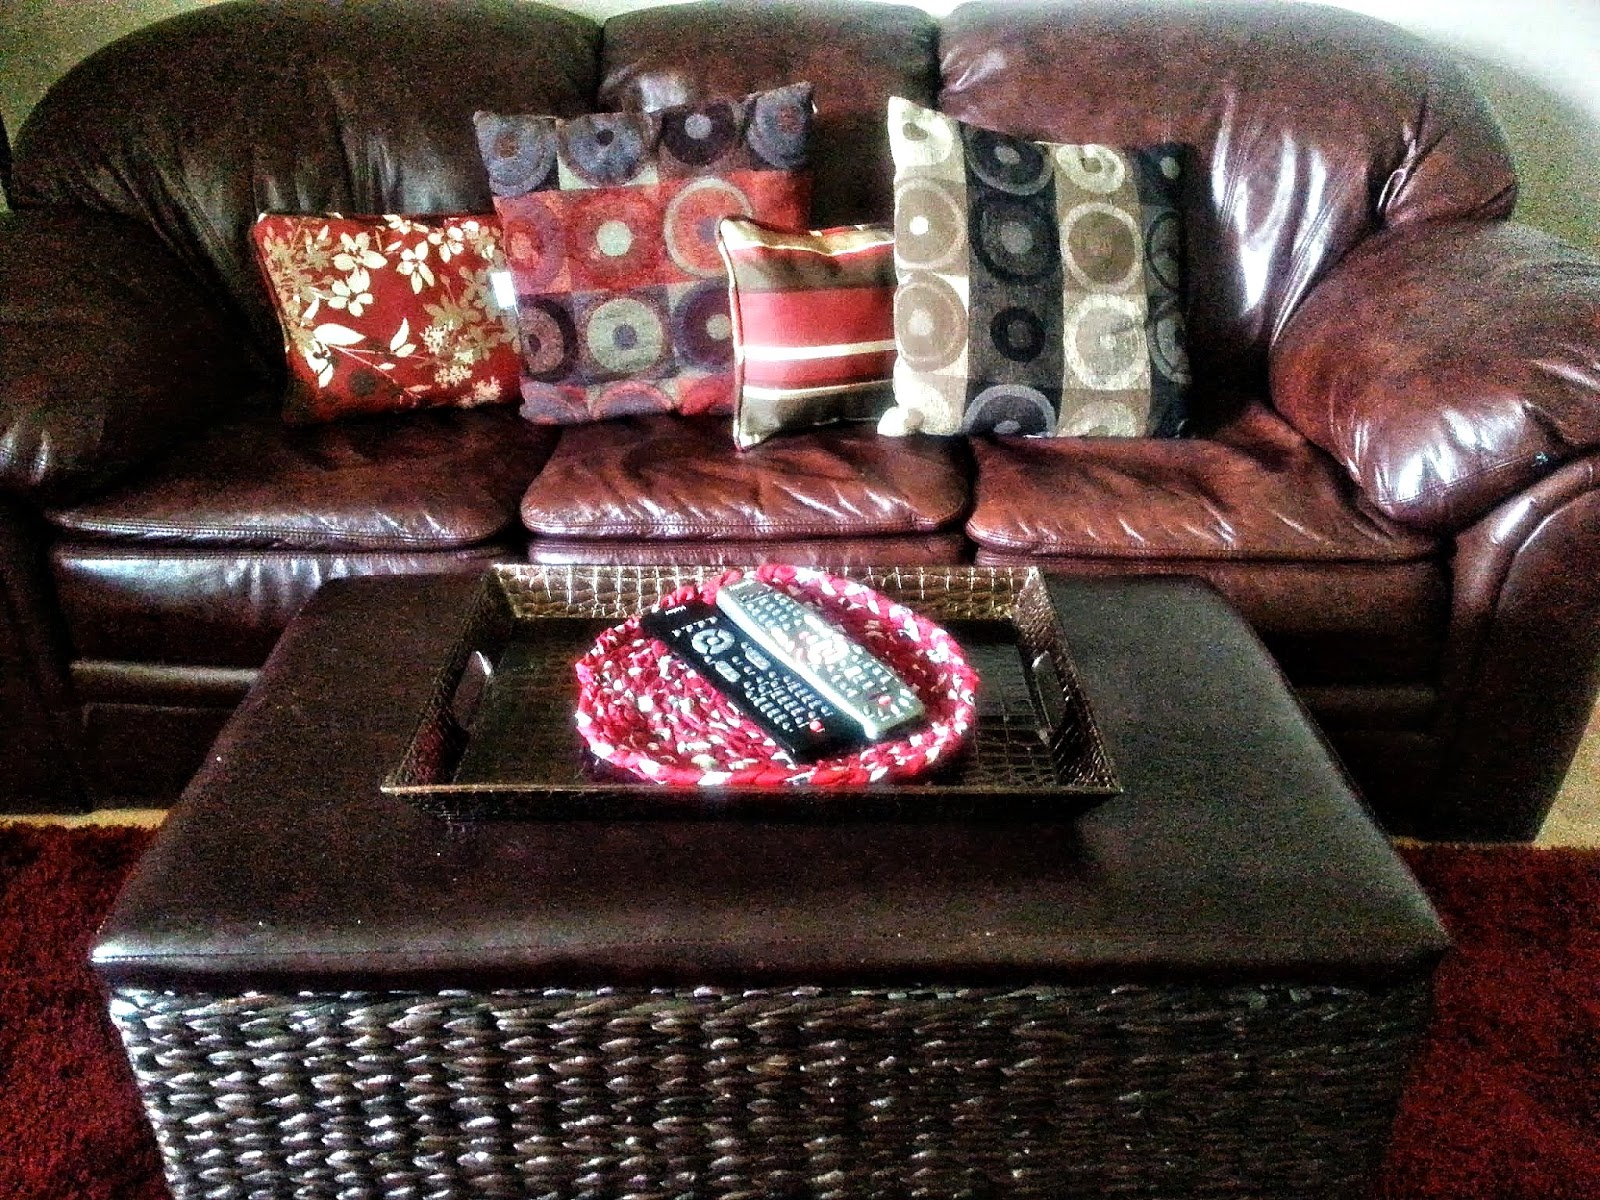
Since I have been accessorizing the entire house I have been in a see-it, make-it mood. My newest addiction is rag rugs. I have always like the look of them from when I worked at Anthropologie. But they never fit my decor (back then). But now I have the opportunity to add them into the mix.
Once I saw enough pretty rugs and other rag rug projects I figured it was time to try. I find out there are many ways to tackle the project (and I just might try them all). I picked an easy one to start off with. Very simple, pretty quick (for Rag-Ruggin' that is),the braided 'Rag Rug' Method. It being my first time I thought placemats for my new table would be great place to start.
This is a great opportunity to go through and clean out your old soft bed sheets, or pajamas, or pajamas that were bed sheets. Remember these? One seam PJ tutorial, made even easier! Made from bed sheets.

What I am sharing is how I did it, for my first time I took the longer route! (I have no patience people I wanted to see my creation faster and not prep my rags). But don't worry, I won't make you do that, I will also tell you what NOT to do.
Getting your raw materials
First, grab your material, make cuts about one inch in, and one inch in width. And start ripping. Just go nuts. I used two pairs of PJ's for one place mat and still have rags left. 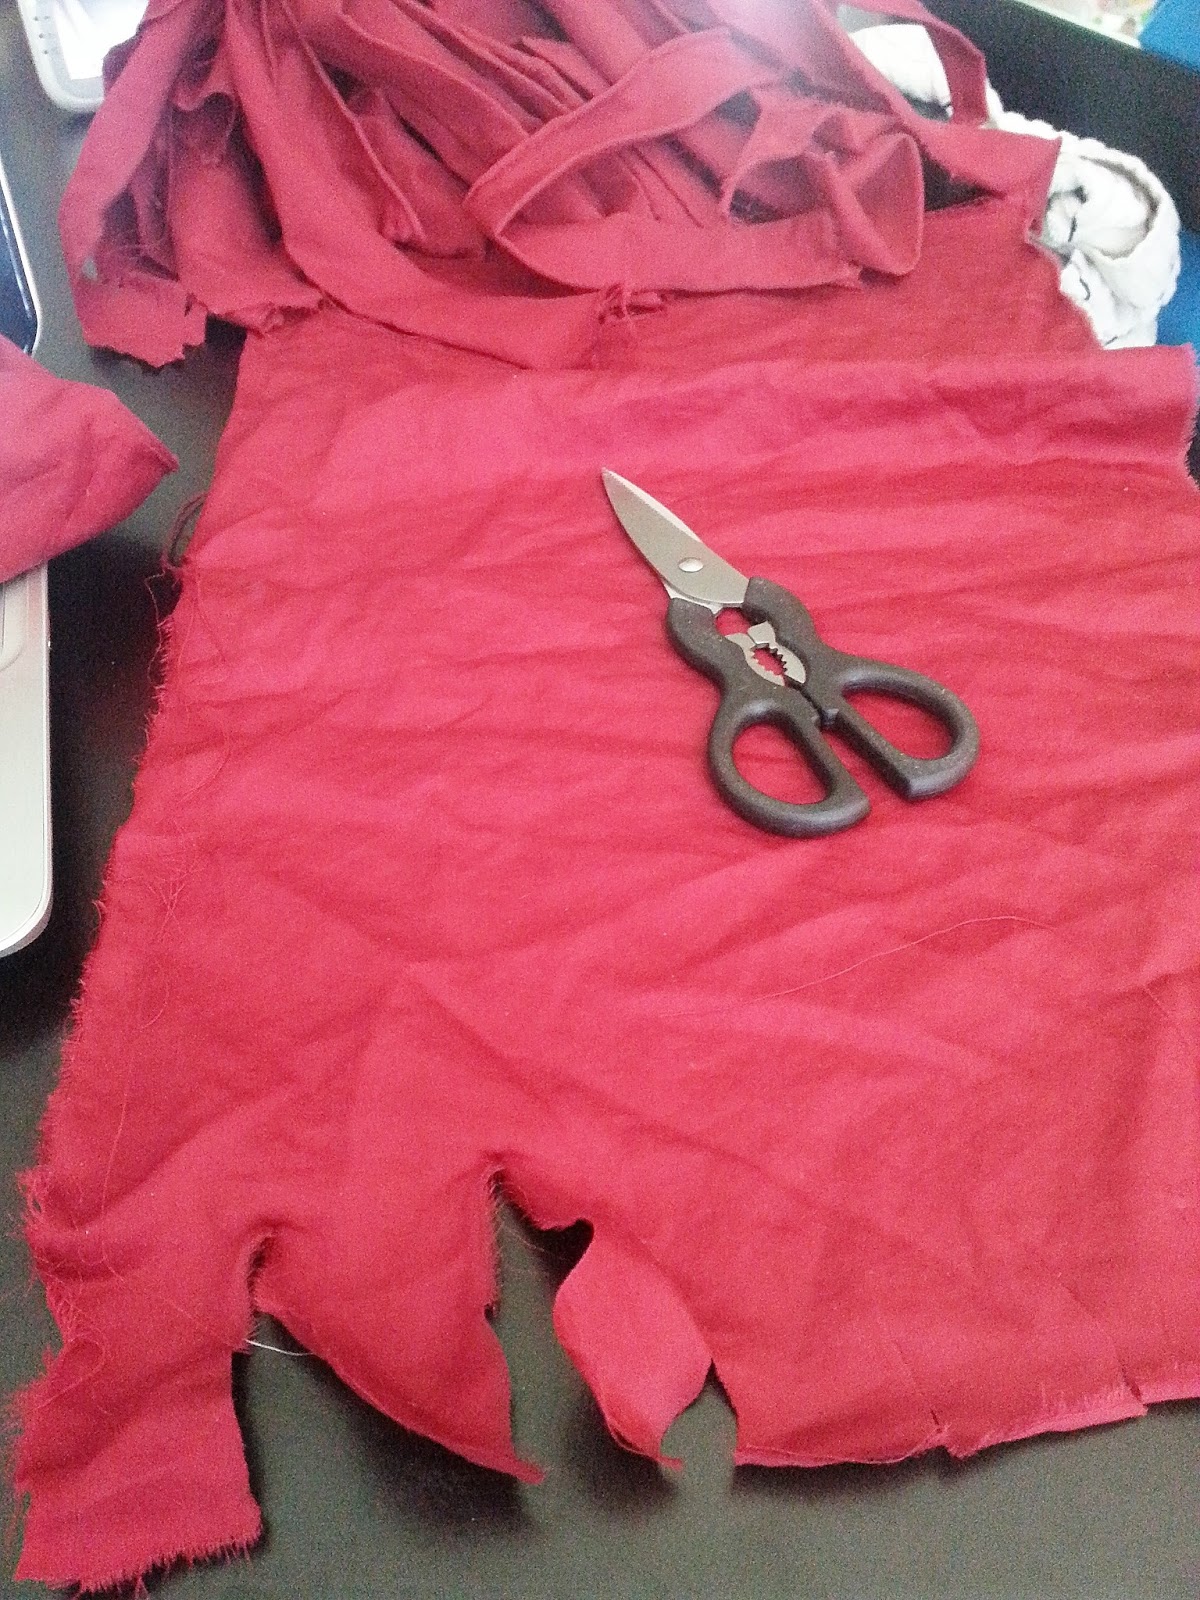
Now you have a pile of matched, or mismatched rag strips. This is where a time saver comes in. Make rag strip balls first! Take some time and sit at your sewing machine and attach them into one big ribbon. I know you want to get started, just stop, and sew. Hand sewing is fine, thats what I did, as I braided, I would just add as needed. LOL, terrible! Once you have attached your strips wind them into a ball.
*Another note, it doesn't matter that your patterns in your ball match. You can do your solid color, and a pattern. Or just grab and sew. I am going to just grab next time!
So now you have your rag yarn. Heres where you can go one of two ways, I braided (you will need three rag balls) or crochet (on big crazy ball). I wanted more of a pattern, so I went with braid.
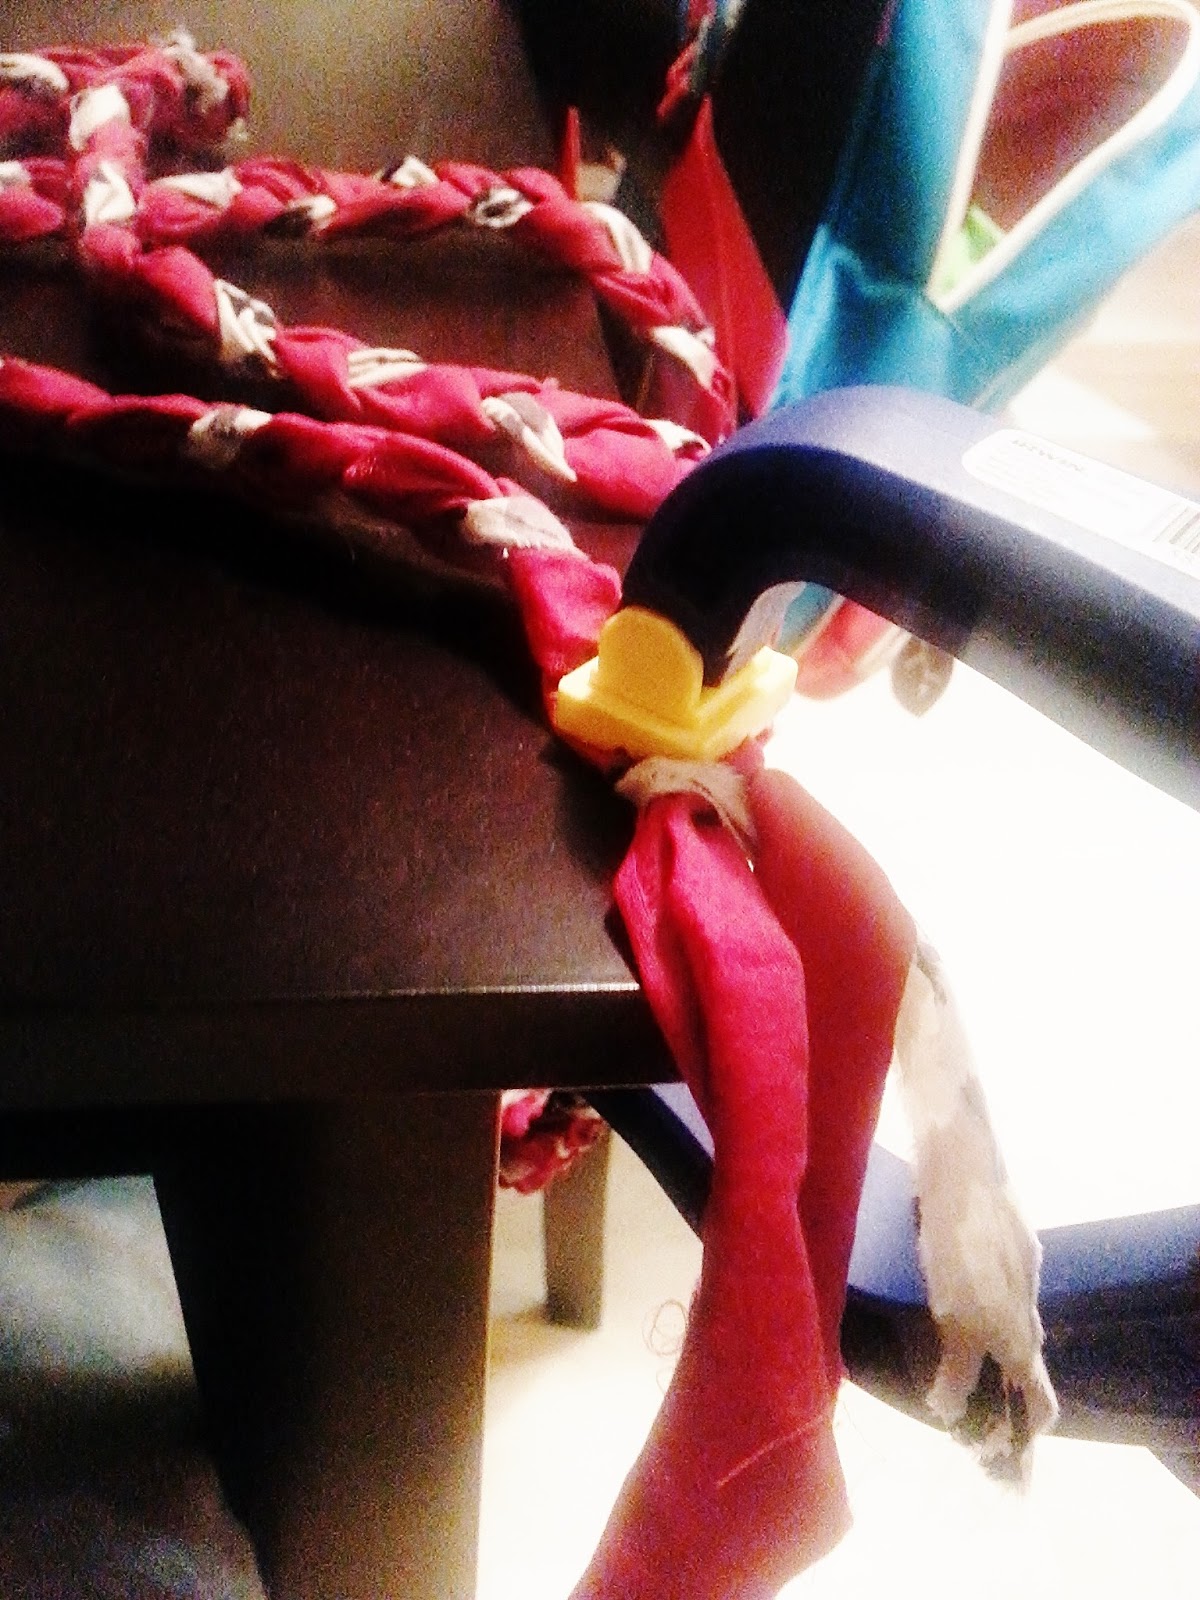
Starting the braid
Making your mat, coaster or rug.
I was reading tutorial after tutorial. It's simple if you have done these, and make sense once you start. LOL, if you haven't done these before (like me) I hope I can help you. Because many tutorial just didn't make sense, even with a picture (HA HA). So I hope my handy dandy pictures help. Starting your mat you want to start rolling, pins can help. For me I found they got in the way (ouch). You want to zig zag your stitch, and hide your stitches in the braids. I used upholstery thread because it's easier to deal with if you get tangled, and very durable.
I like sewing outer braid in. Only because when you need more thread its easier to tie on and off, and you have more maneuverability. When sewing out to in you don't have to hide the stitch going in until you get to your final row, then you want to hide that in a fold. When you think you're getting close to the end just wrap your remainder (for a visual) and mark your braid with a pin so you know when to start hiding the outer stitch.

Totally ignore my odd stitching in the middle... it was an experiment! Ha.
But this is how to hide your stitch on the outer braid.

Rag rug projects are pretty fun. Once you start, you'll get it, there are so many things you can do. As I was sewing I was thinking of different patterns, and colors. You can also add some rubber backing to your rag-mats, coasters and rugs to make them functionable.