Showing posts with label body building. Show all posts

Saturday, December 28, 2013

Paleo Sandwich Bread


 My Paleo friends, rejoice, and have a sandwich

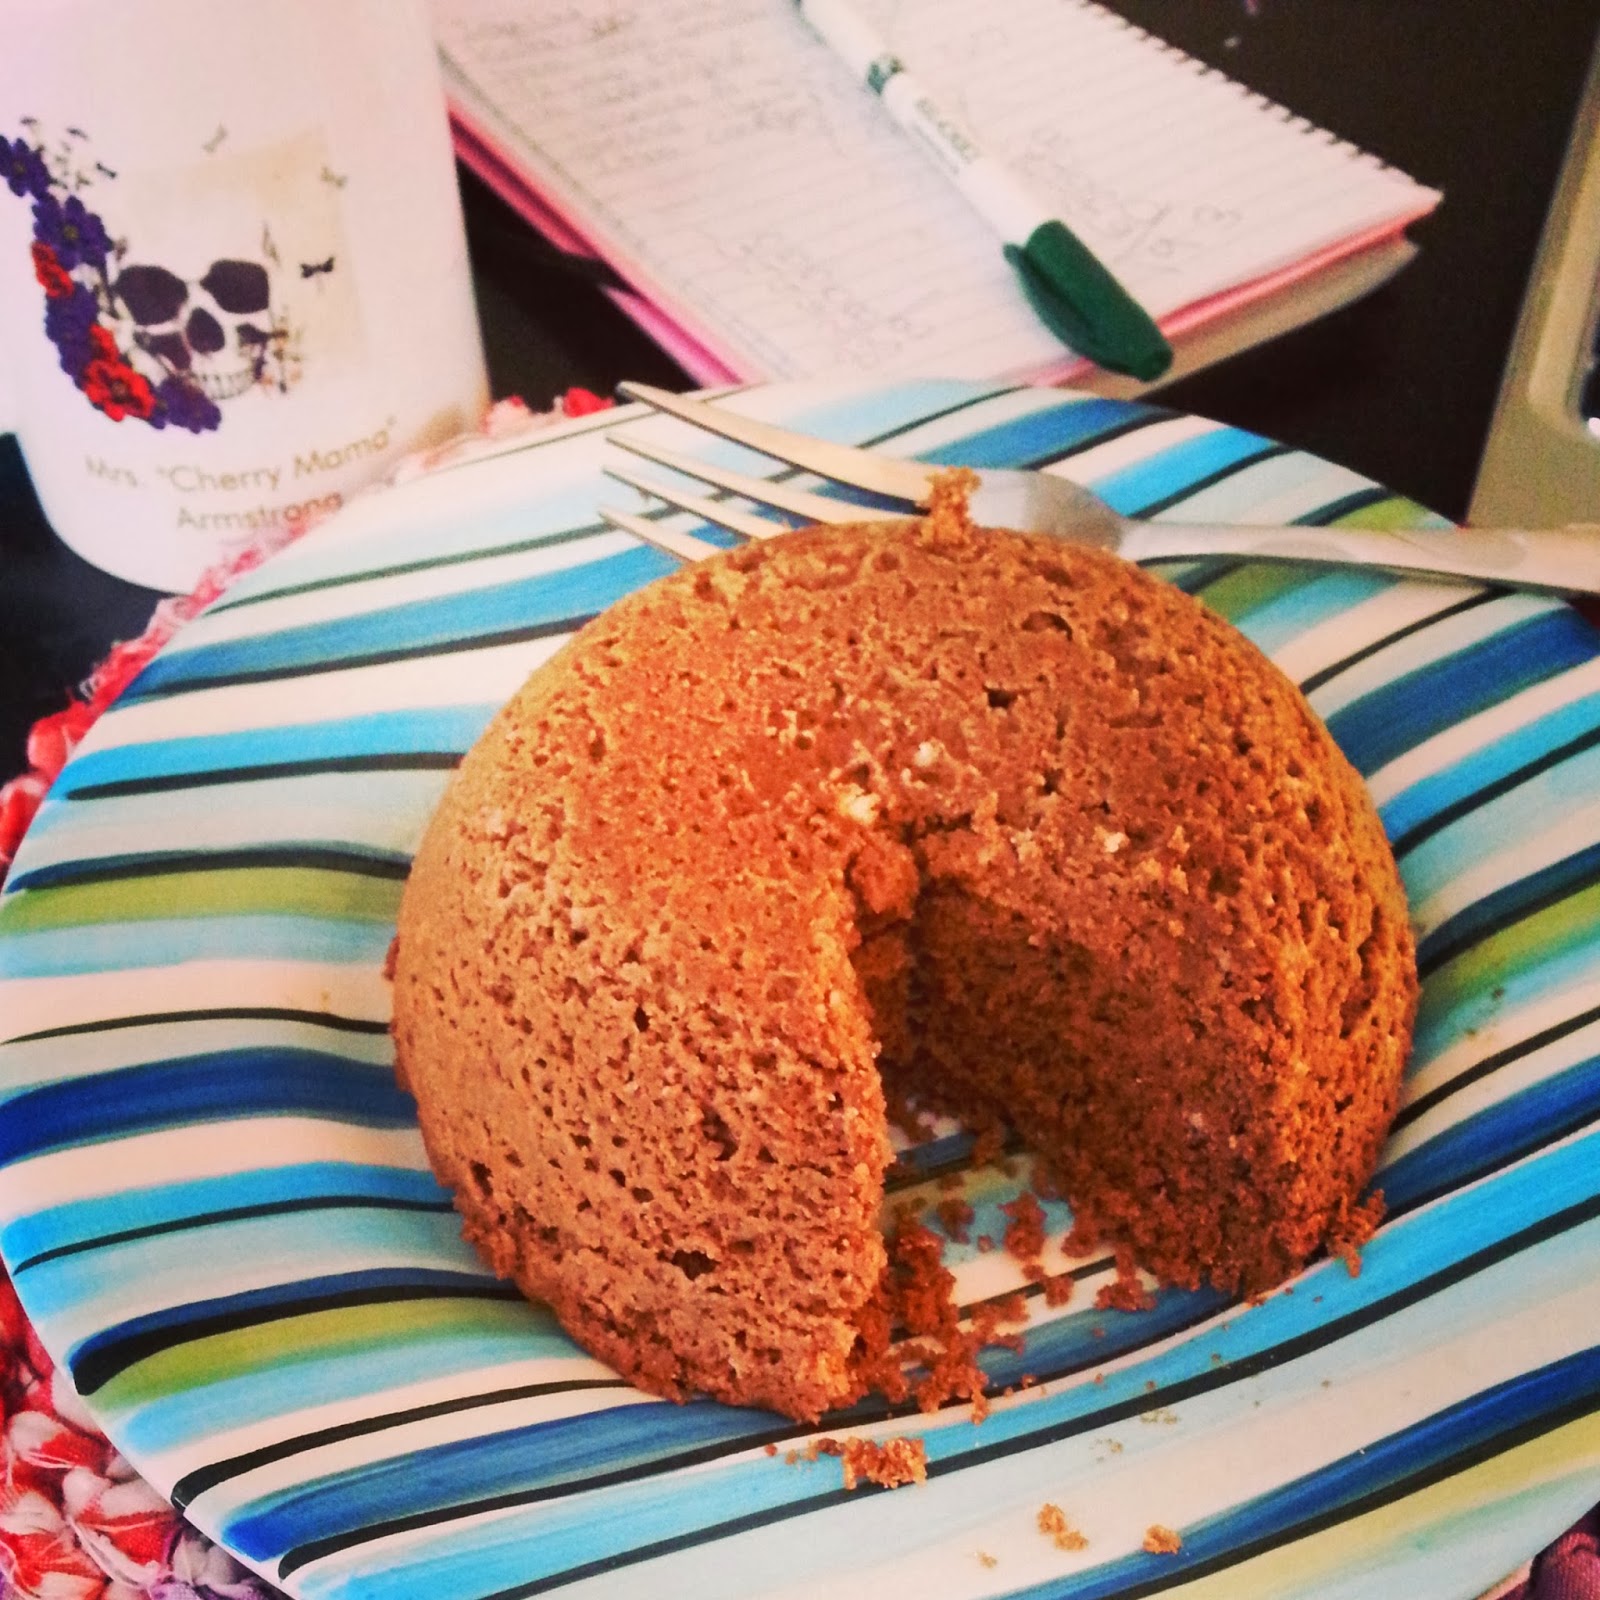
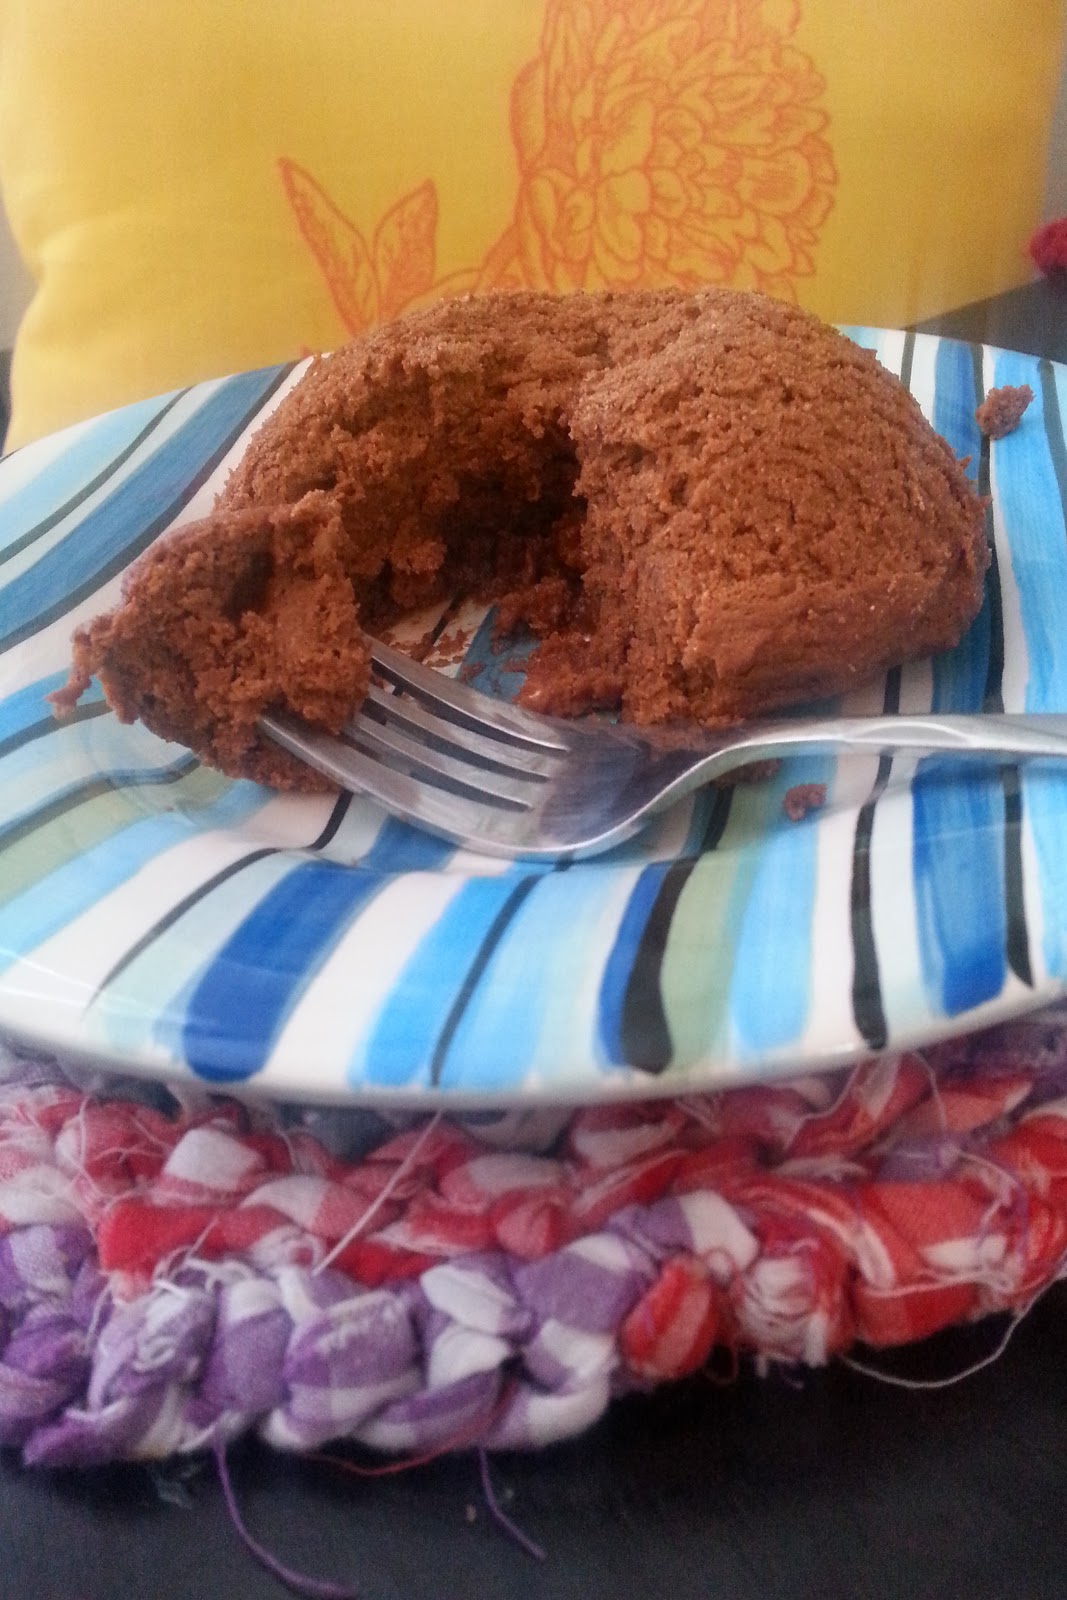
I have made a lot of Paleo bread, but there's only so much almond bread with almond butter I can take. They were all tasty, but ended up more like a cake. Not so much for just making a sandwich! 


.
That dreaded meal; Lunch.

Sometimes I just make breakfast again, or just stick with one of my meal re-placers because I just don't have time to make a mess and cook for one, then have to cook for the family for dinner later. Some times I just want to take my lefts overs and stick it on bread! Well I found a recipe. I did a whole week of testing via Instagram. Funny enough it wasn't until the last day I made a left over sandwich.


My post work out slug-fest I am famished,
 so it's bacon and eggs!                                                               
 Breakfast BLT !

*My personal note, I recommend an immersion blender for Paleo breads and cakes. Blending the almond butter, and honey is never easy. I now mix a lot of my breads and cakes in a bottle mixer using my immersion hand blender. You get a better flavor and consistancy. It's also an easier clean up! 

*If you like to toast your bread, don't over toast. It will burn very fast because of the egg content!


  • 3/4  almond butter, smooth (store bought works fine too)
  • 6 pastured eggs
  • 2 tbsp honey
  • 1/4 cup coconut oil, melted
  • 1/2 tsp apple cider vinegar
  • 1/4 cup golden flax, ground
  • 3 tbsp coconut flour
  • 1 tsp baking soda
  • 1/2 tsp sea salt
  • Instructions
    1. Preheat oven to 350°F. Line an 8 x 4" loaf pan with parchment, grease well with coconut oil.
    2. In a large bowl, blend the almond butter, eggs, honey, coconut oil and apple cider vinegar with an immersion blender.
    3. In a separate bowl, combine the flax, coconut flour, baking soda and sea salt. Mix the dry into the wet, pour into the greased and lined loaf pan and bake for 35-40 minutes.
    4. Remove from oven and allow to cool in pan 10 minutes. Remove from pan by pulling up on the parchment. Set on wire rack to cool completely.
    5. Store in an airtight container at room temperature for 3-4 days, in the fridge for 7-10 days or in the freezer for a month or so.


    Read more: http://guiltykitchen.com/2013/04/15/paleo-sandwich-bread/#ixzz2ooVvHwXh

    Tuesday, December 17, 2013

    Mug Cakes, Mug Muffins, how about a protein CAKE?

    The mug food thing reached a frenzy this year, don't you think? It started off with the decadent brownie, then the chocolate chip cookie in a mug. I will be honest, those were freaking good.  But too good. Given I did substitute using  whole ingredients, avoided vegetable oil,  and sugar. I think that is what got every one thinking:  "How can I make this healthier?"
     Many did, and I tried the heck out of them. There's a 100 calorie mug out there. It was like swallowing a sponge.  I would rather have something in a higher calorie content with good things for me than a sponge. Right? How about some protein? Yeah?
    I have been doing my own healthy mug cake testing for myself, sharing a long the way on Instagram.  Then there was one little post that got a little more attention than I expected. It is good. Very good.

    Things I learned about mug cake testing. If you don't want a dry sponge, or a mug pudding use a bowl. I know its now Bowl Cake. That sounds wrong, mainly in the portion department. But it's not any bigger than any other mug cake.

    I went through many bowls and mugs until I found the right one. But if you really do not have anything close to this the best trick is to use the microwave reheating trick. Scootch everything out of the middle using your finger or a spoon. Hollow it out like you're making bunt cake. This way you are avoiding the goo in the middle or having to cook it more and over drying the rest!


    The Cherry Mama Protein Mug Cake 

    ♥2 egg whiles (about 3 TBS of white 28 cal)
    ♥1/4 Cup Unsweetened Apple Sauce, make it a healthy amount. ( 25 cal unsweetened )
    ♥1 Scoop of Protein Powder Vanilla or Chocolate  (I used EAS lean for the low calorie count 50 cal.)
    ♥2 TBS of Coconut Flour (60 cal)
    ♥*1 TBS of Cocoa Powder (Pure organic Cacao 10 cal per TBS)
    ♥1/2 tsp Baking Powder
    ♥Stevia, I used one squirt of Skinny Girl Stevia (equivalent of 1 tsp of sweetener)


    173 Calories with cocoa, 163 without. Your calories will vary depending on the brands you buy.


    Whisk  ingredients in a bowl thoroughly. Looking for lumps of coconut flour, it tends to be very stubborn! When measuring the apple sauce really make it a healthy portion. Don't make it level, just proud of the measuring cup. Apple sauce really adds the moisture. I scraped it one to make it even and it wasn't the same, a little dry. Once mixed pour into a grease mug. I use an organic olive oil spray. START at 60 seconds in the microwave. Then add 15-20 seconds there after. Mine takes 1 min 20 secs.

    *Cocoa powder is optional, protein powder can be pretty sweet. But the cocoa makes it a great treat.

    This one below is just Vanilla protein powder. I didn't flip it yet so you can see the top right out of the microwave. You can see I stuck my finger in to test. LOL, I generally test hot things in the worse way. But the texture on top will be slightly soft, but underneath you see a nice sponge cake. This was so delicious.