Showing posts with label Clean Home. Show all posts

Saturday, September 28, 2013

Dollar Store, and Re-purposing Organization


I love dollar or less projects. I hoard handy things. With two toddlers in my family of five, nap times just aren't enough. But I love when I get a whole day, and I am project minded, and I have enough coffee in me. My first project was rescue my drawers from my tank tops. The season is ending, and most of them generally go in one of those plastic bins with drawers in my closet. I have always hated this ritual. Because when I am searching for a specific color they all just end up in a wad. So it's time to take action! I have seen a great handy dandy hanger thing but as much as I want one I figured I could rig something for a dollar or two.


One thing you can never have enough of are curtain rings, or plastic rings used on baby toys.(I have tons of those too.) Using shower rings and a wall hanger I could store multiple tanks for $2. But if you are anything like me, you have more than the average person because you buy two of every color for every top. Aaaand.. you have cotton, lace, ribbed, smooth, and shelf bra tanks. I am on a whole other level. I used a space saver for hangers combines with shower rings. They can be made into a figure 8. I did it like this is because it gives more room to maneuver. I tried every which way and I ended up using the space saver and ring combo for all my tanks.


They are fun to play with, once you start rigging you'll start to figure out more ideas. This is also great for scarfs too. If you have over the door hangers you might find the back of your door a little crowded, unless you use another little Dollar Store gem. I found this over the door holder that holds five shower rings. It also folds down, so you can open your door (fancy that).


Remember that plastic bin thing I was talking about. They have become a bad habit in my life. They become a catch all, and not great for organizing at all. I still want to make use of space though! Under the bed storage is great for shoes and boots. Boots live there until its time to transition to the closet for winter. But there's still the issue of flats. They are year round, and take up a lot of space. Flats fit in the drawers pretty well, but I just wanted that THING out of my closet. I wanted to create usable storage under the bed. It just so happens the bottom of the bed is the best space for these three drawers. They function like drawers so they are easy access for those every day shoes. but hidden like storage drawers.

 There is that remaining frame left over... of course I found a way to use that! If you forget to take
your reusable grocery bags as much as I do I am sure you have a collection of plastic bags at home. I have a stash under every sink for trash bags. Then theres the balloon bags of bags in my kitchen pantry that I keep meaning to take back to the store. Go figure I forget those as much as the reusable ones. But I just can't toss them when I know they are recyclable. This handy dandy frame in the garage right by my car is a great place to stash them, and a great way to remind me to grab some as I leave. I also hang my totes on the out side (using plastic rings)so I don't forget those! It's actually working. There are still days I forget to put my totes back out there so there will always be a need for this little repuropsed 'thing'. But it's a good thing.


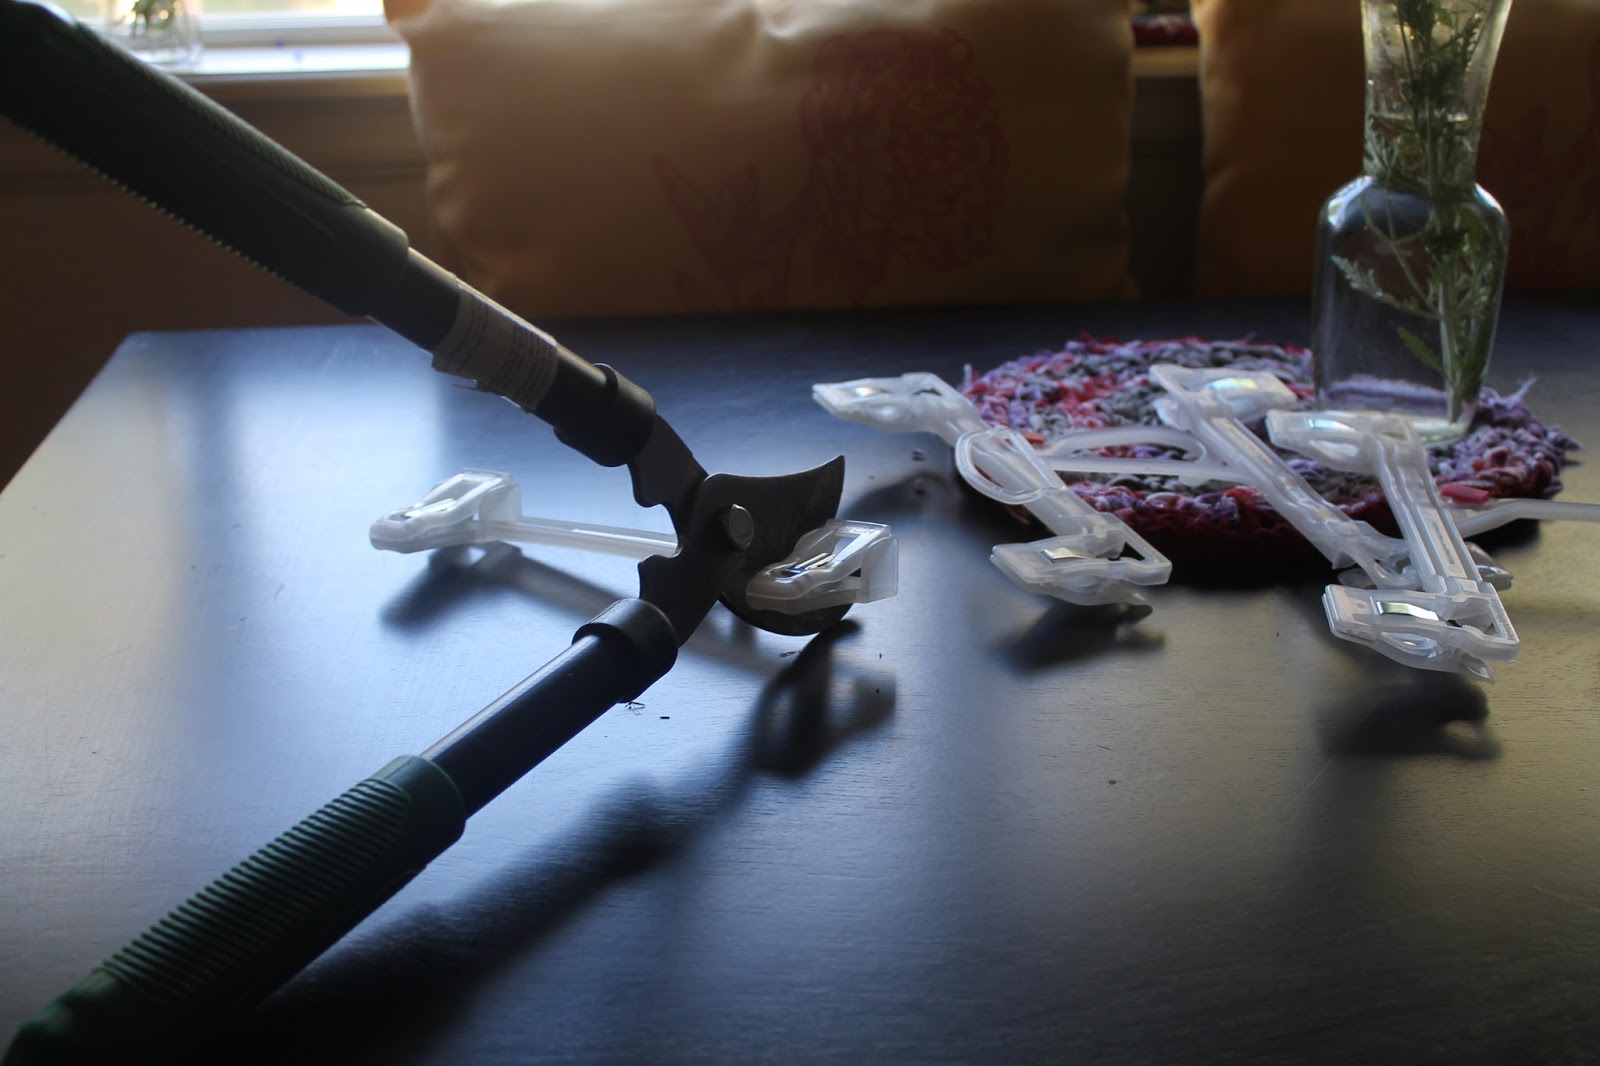
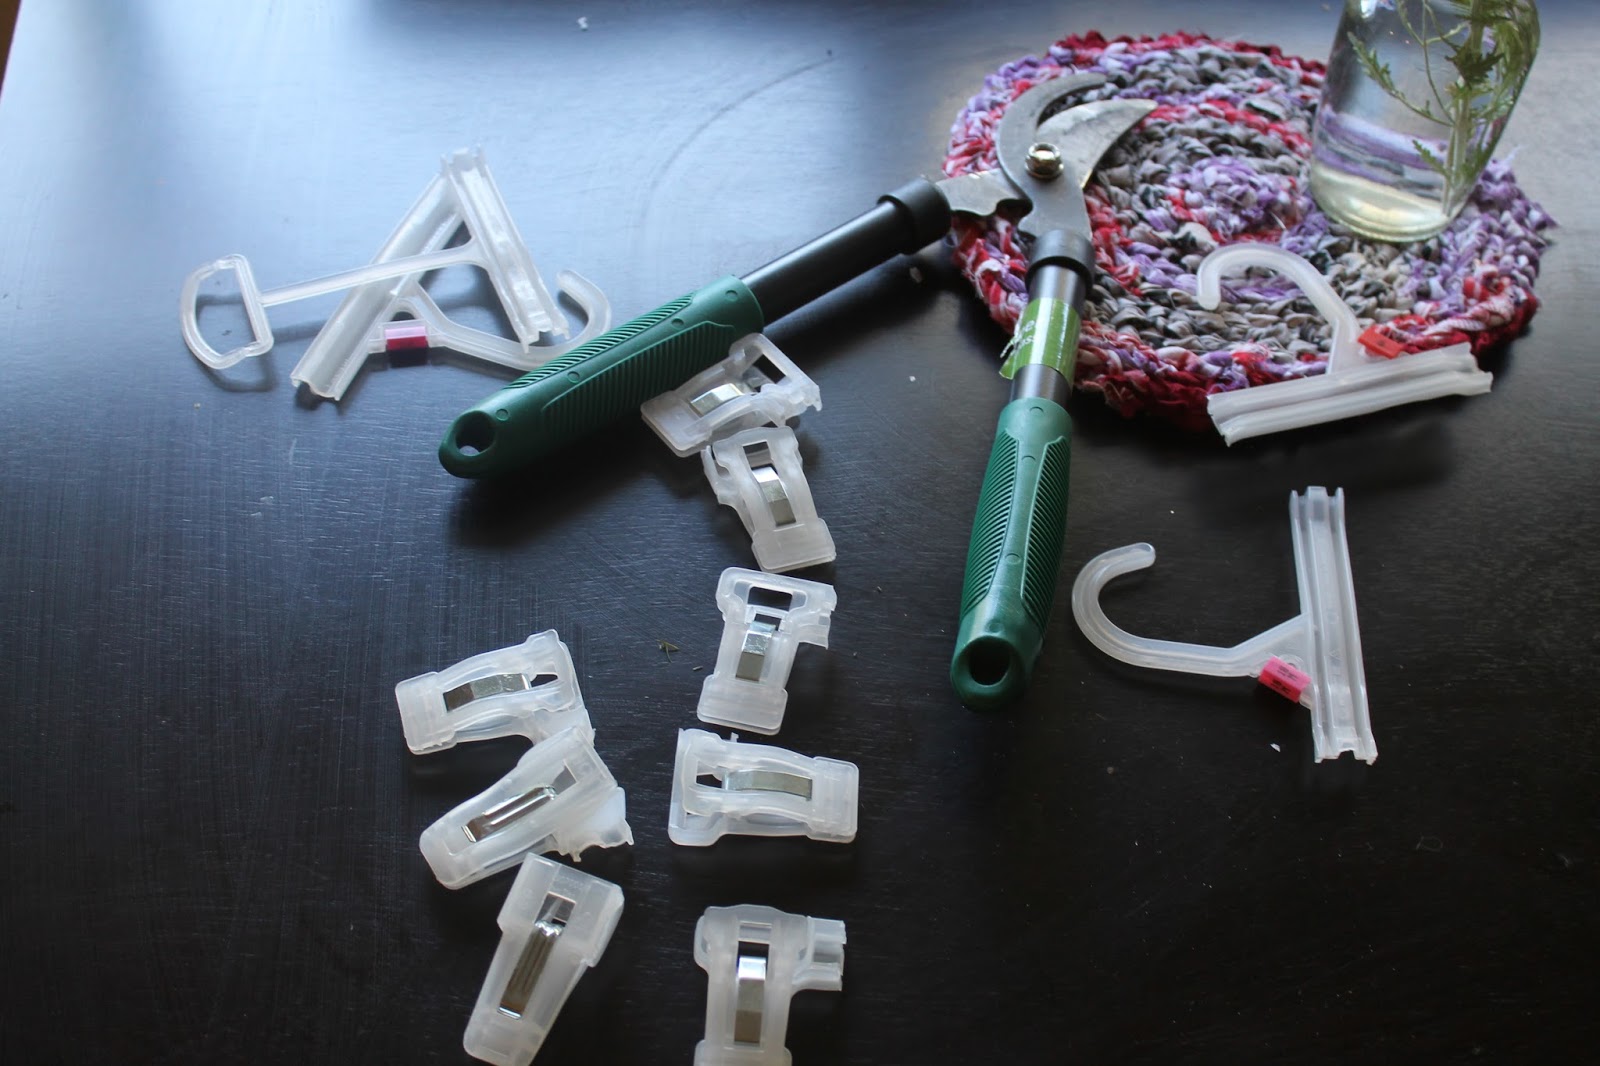
Got cheap plastic pant hangers around the house? Got some garden shears or strong scissors (like über strong)? Make lot's and lot's of bag clips! They work for chips, bags inside of boxes, and even in the freezer for those runaway frozen veggies.
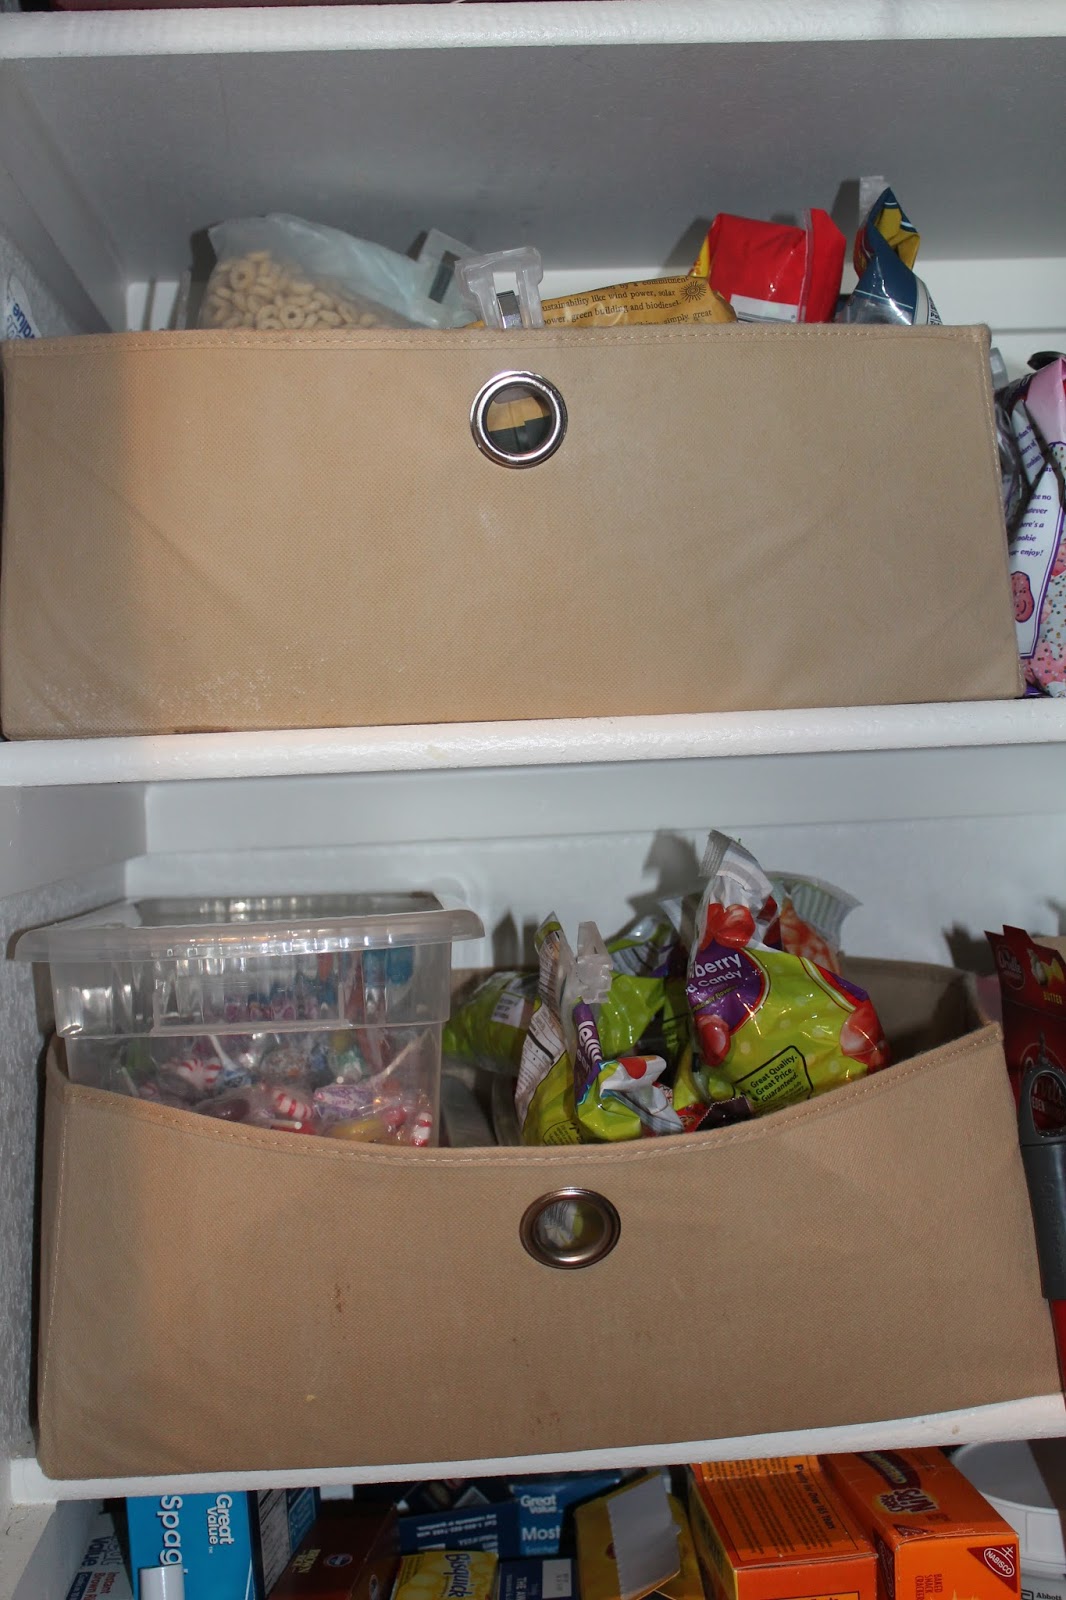
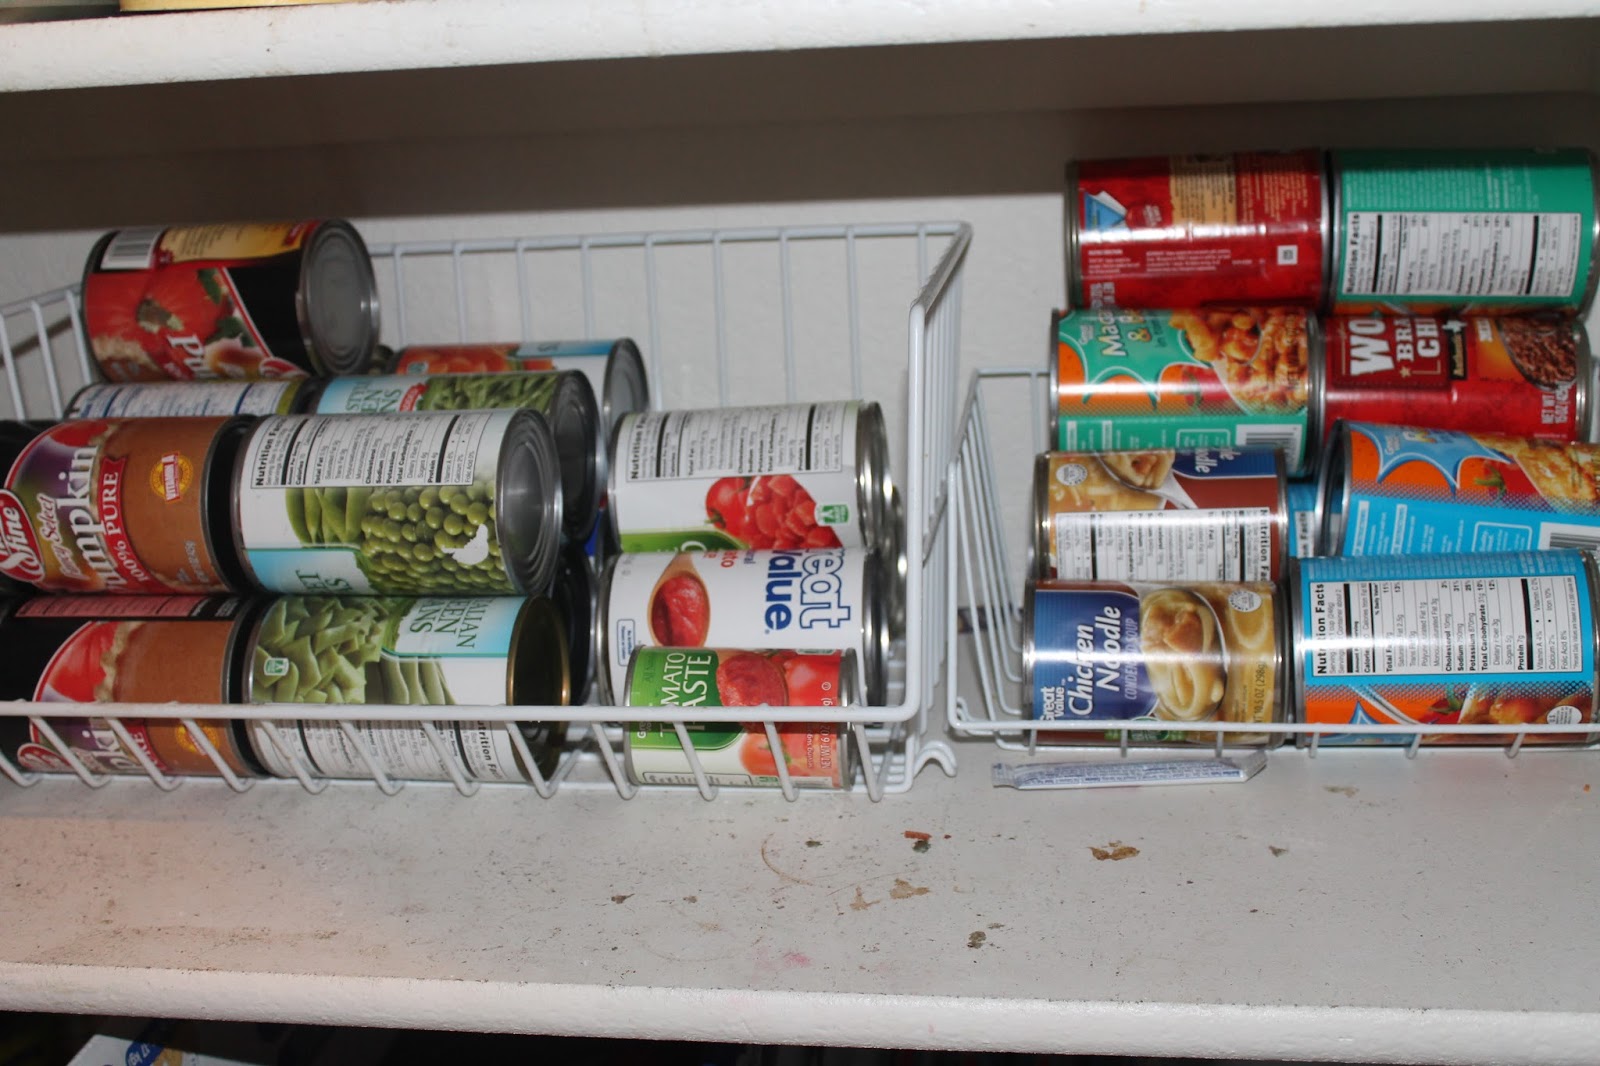
Another broken down household item I saved was from an flat screen console. It came with canvas boxes that my son insisted on siting in. So I had to get baskets to replace them! I saved the canvas drawers for my kitchen pantry. Great to corral all the snacks. The kitchen pantry can be a nightmare. But adding a few of these along with some dollar store wire baskets helped a lot. Even when it starts to get messy the food stays organized. Somewhat protected from the dumping
ground it can become.


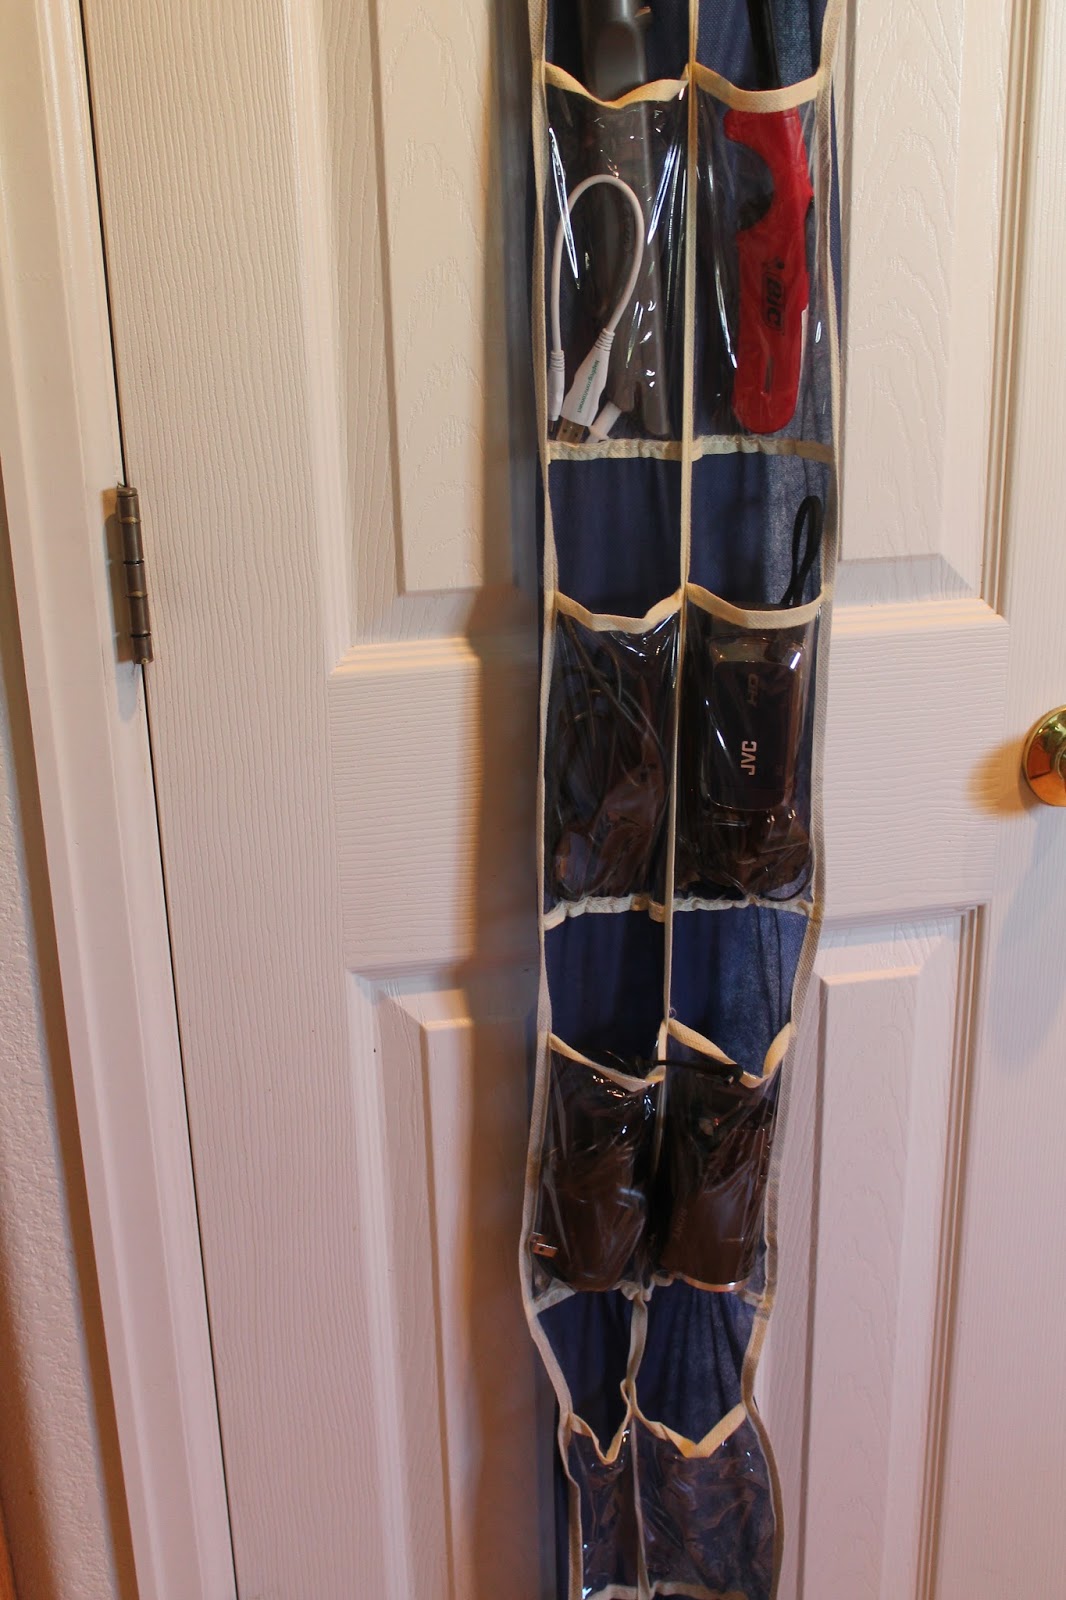
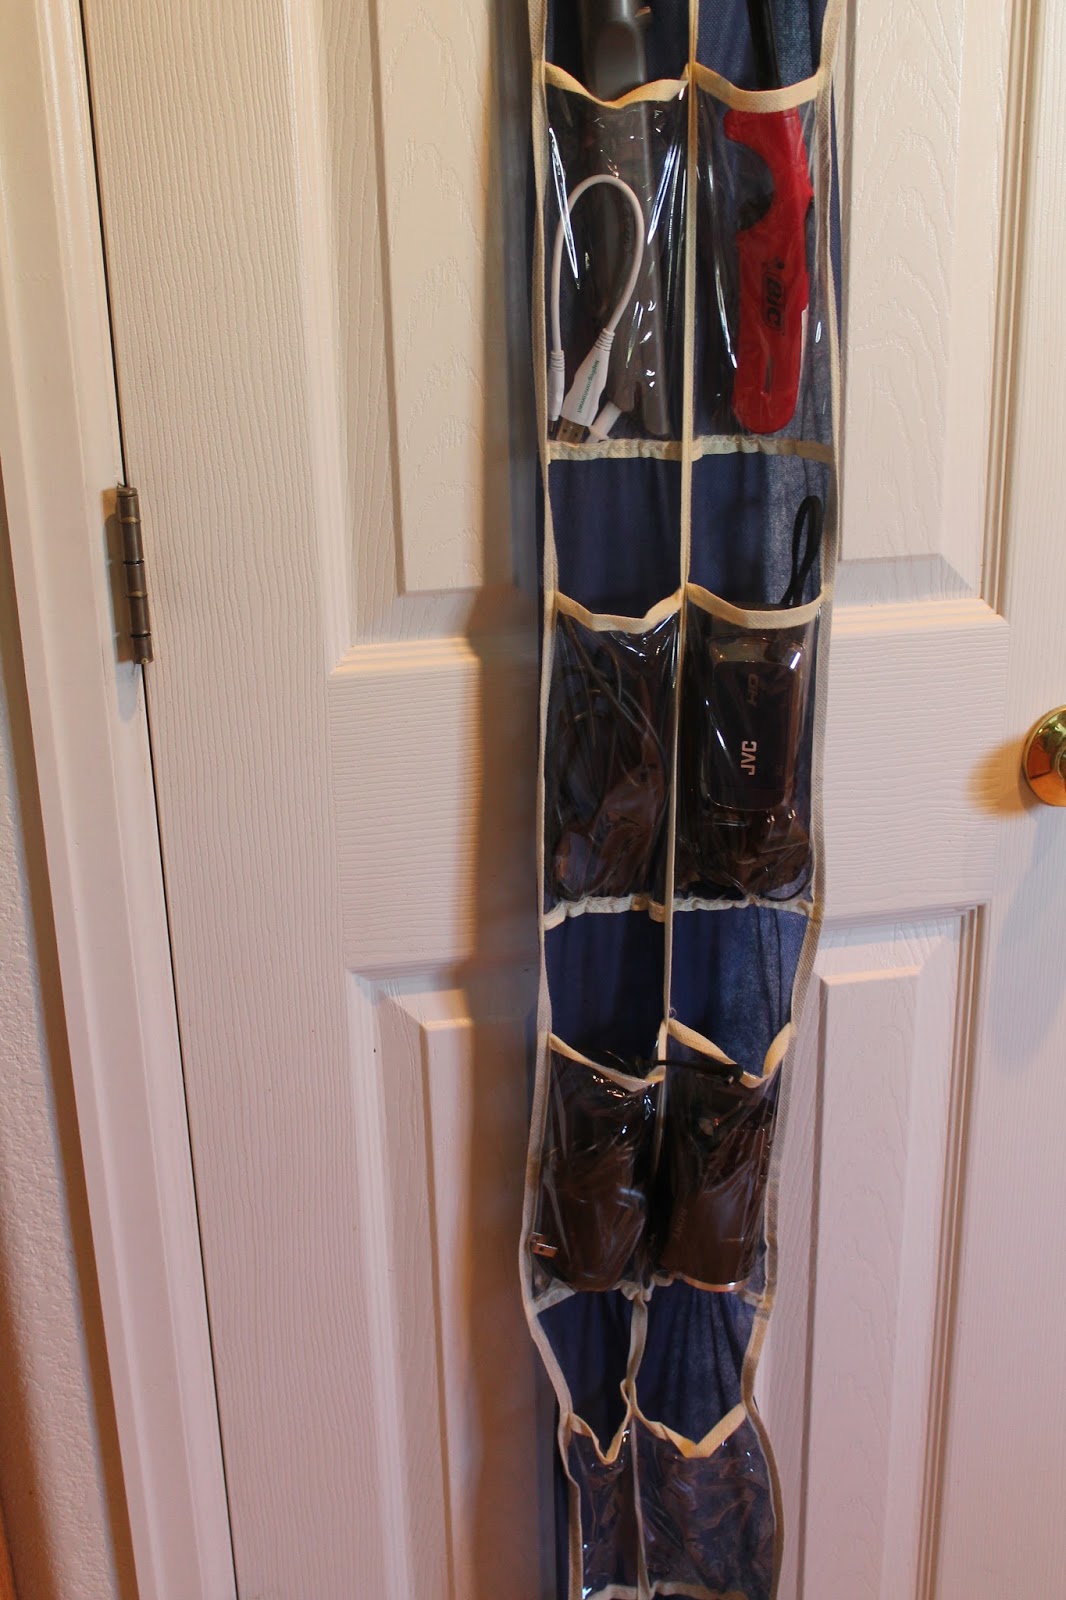
 Too many chargers, USB cables, cameras, camcorders, and everyday 'wot-not'? I love these Dollar Store shoe organizers. They sure don't fit shoes, but its great on the back of the kitchen door in the hub of all the action. I am able to grab a camcorder, or a quick point and shoot. Then know where the cable is when it's time to transfer. It keeps everything from being a tangled mess. Since I live in the kitchen I keep and extra mouse in there for my laptop too. I will always know where all my tech stuff is.
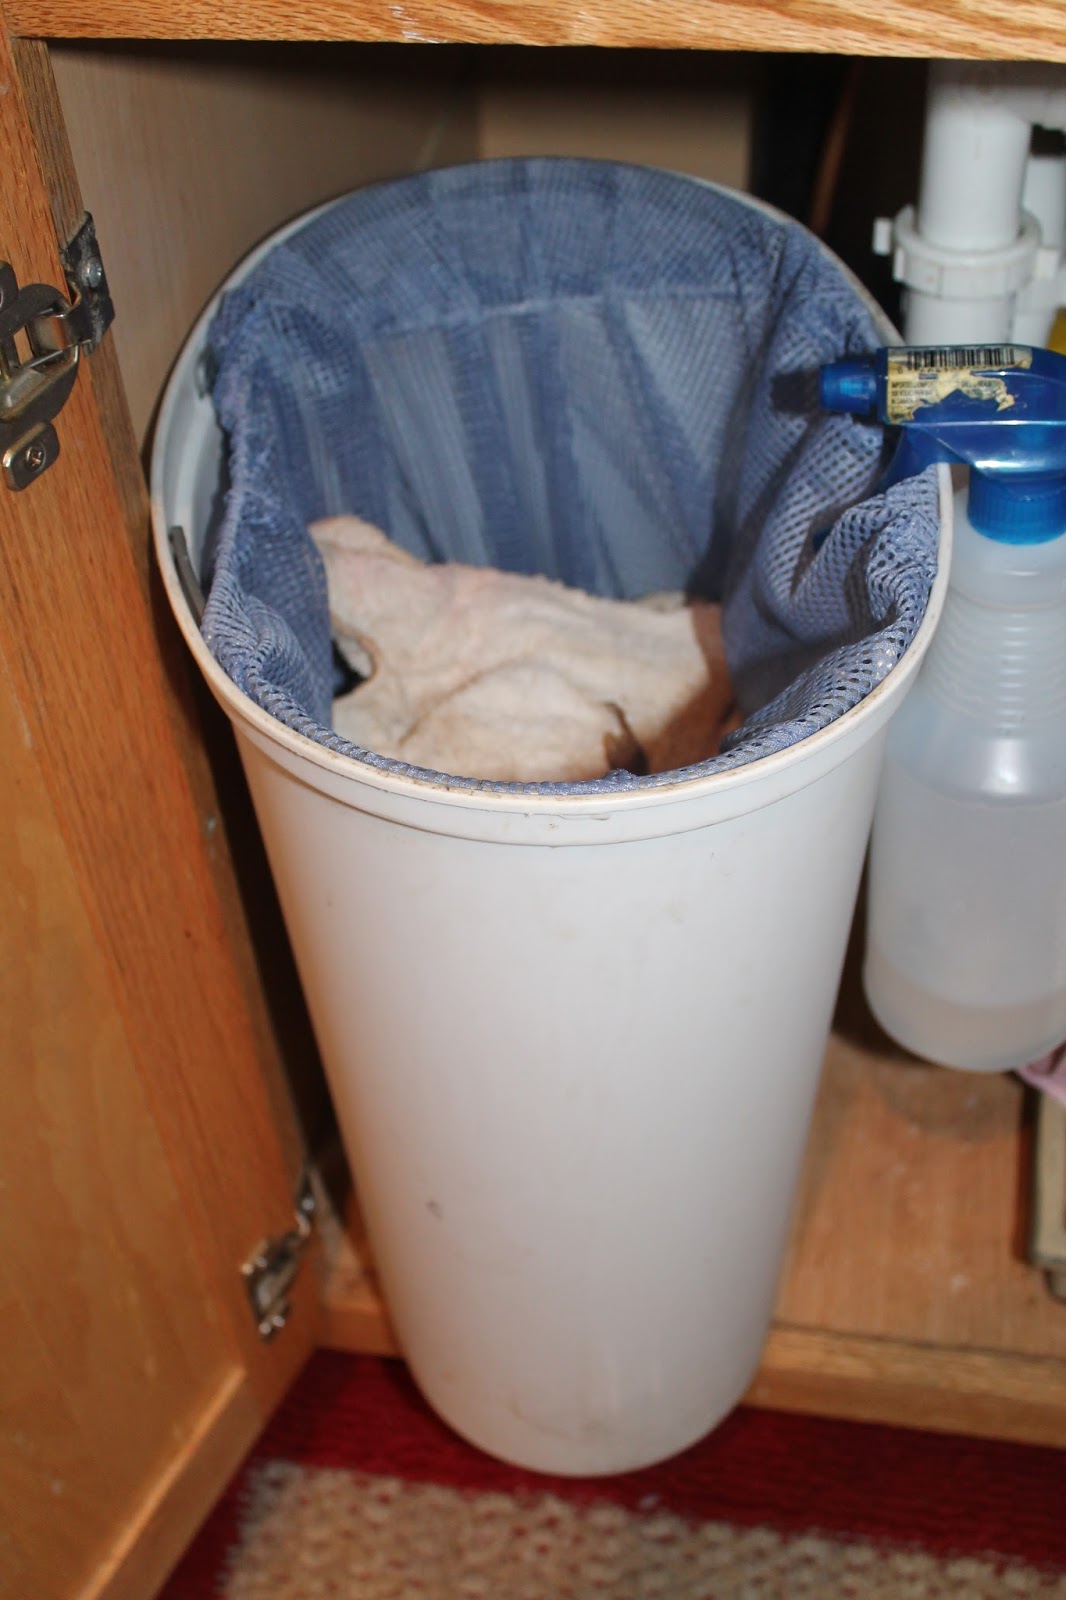
This is another one of my: 'I will keep stuff because it will be handy later thingies'! I had one of those laundry sorters, but I now have no room in the new house. But I kept the bags around. I also had this trash can that was missing the lid for hangers in the laundry room. Essentially taking up space, didn't really need the hangers in there. 

This now lives under my sink for my dirty kitchen towels. When it is full I just remove the bag.When full, it is larger load, then I don't have to find stuff I don't mind washing with kitchen towels.  I can wash the bag then refill it with clean and carry it back. Efficient all around.
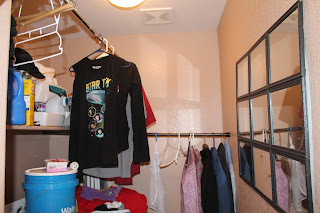
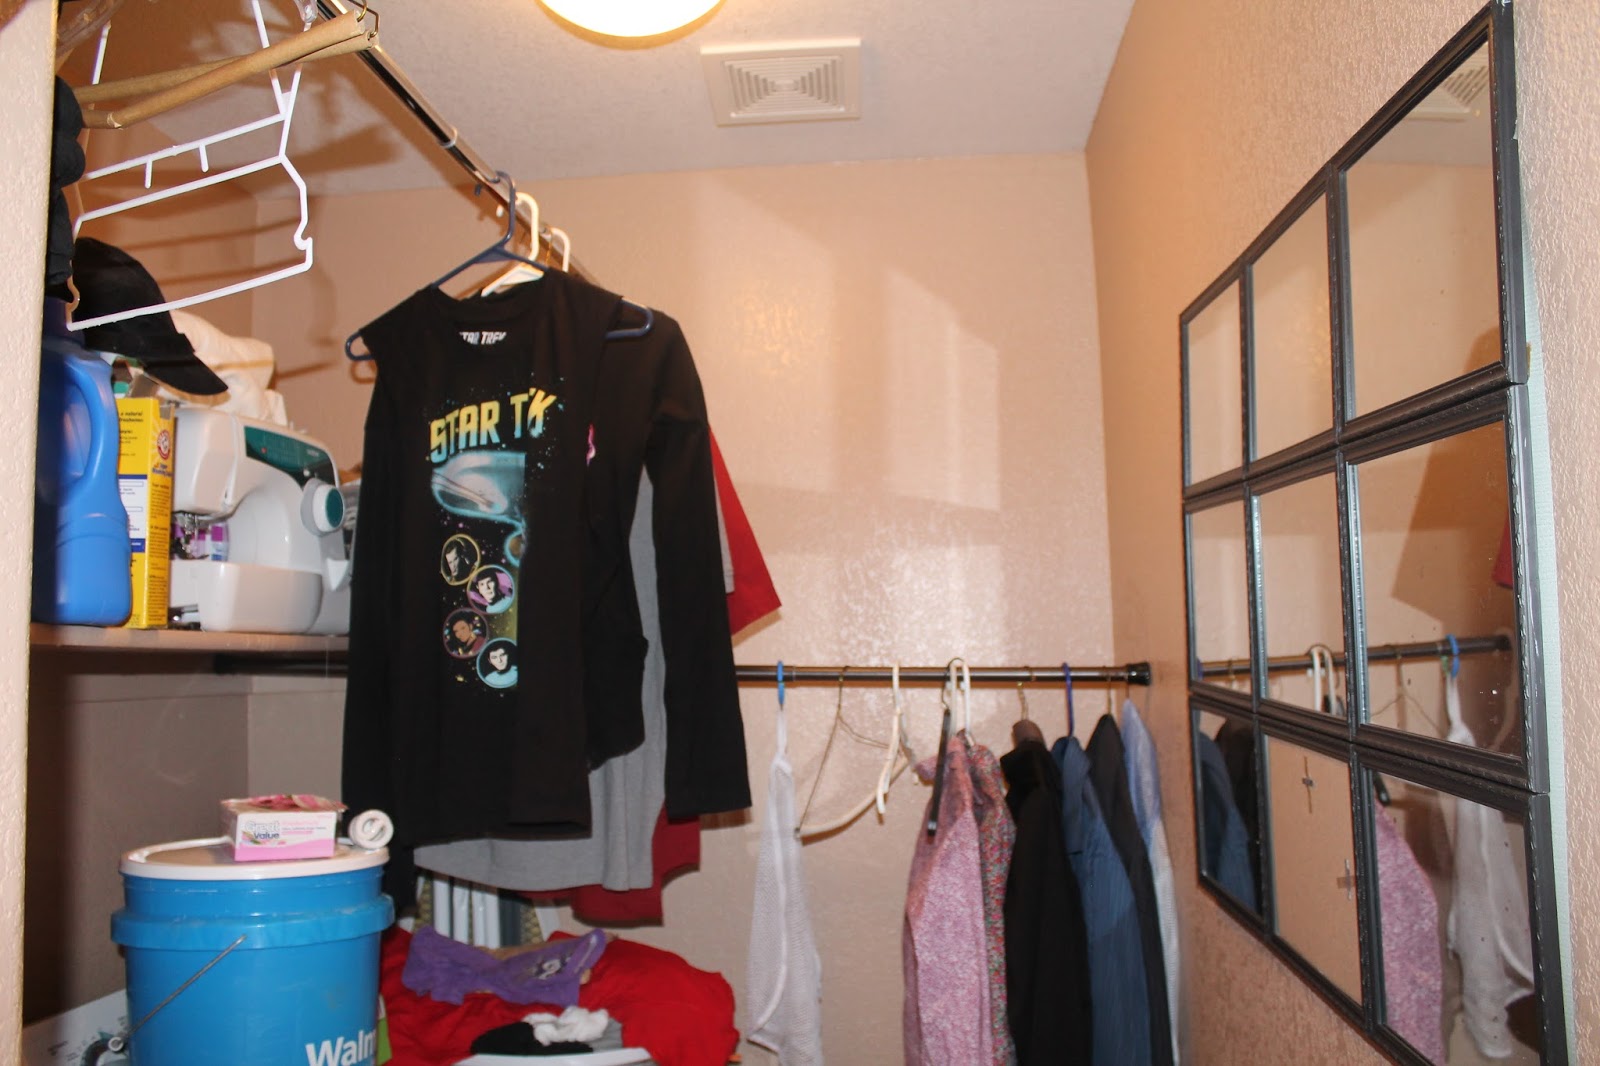
Tension rods, and shower curtain rods, I have many after the move, and I am glad that I kept them. My 1/2 bath is 1/2 laundry room; also the guest bathroom, and where my little pup pups sleep. All this in one small room. A quick fix was actually dividing the room. I don't need guest staring at my laundry area, so a tension rod and a left over curtain panel was a great fix. Recognize it? It's the third panel from this home refresh. You can also tell I am into my red's, yellows and clashing. Its also where I put some fun art pieces from the kids. But behind the curtain is where the laundry magic happens. Two shower curtain rods gave me room to hang right out of the dryer. It cuts down on how much I have to steam/iron when I am able to hang immediately. Before I had no room and it was a disaster pile. I hung my old Copy Cat mirror project in there because one of the mirrors bit the dust when I took it down to dust. You know what they say about adding mirrors to a room to make it feel bigger... does not work in this case. I tried. 
This one isn't anything new, but I started it so long a go. See the original paper, that's from another re-purpose post! I wish I could find that paper again. I finally remembered to save boxes to finish it! I am still far from doing the amount of drawer organizers I need. But one major drawer is done-ish. The best boxes are not always cereal boxes but larger frozen food boxes, and snack tray boxes. They are good for bulky objects in your utensil draw!
This was a total freebie. These two buckets were 'found objects'. As  in 'found in my back yard'. Cleaned up they make great counter clutter catchers! The best thing about the metal buckets is also a safety measure. I can curl my hair and not accidentally set it on something melt-able. I am VERY good at that. It also keeps it up off the counter from little hands. They are always around my ankles so I am super paranoid. 
May all your Dollar Store finds be awesome!
Re-purpose on my friends!


Wednesday, April 17, 2013

My new favorite, DIY laundry detergent.

It was time to make more of my usual laundry detergent recipe. It was perfect I only had to buy on bar of laundry soap (less than a $1 @ Wal-Mart). I had all the goodies I needed already from my other batches, easy! I went to go grab my 5 gallon bucket, then all of a sudden I didn't want to do it. I just didn't like melting and waiting, and separating.  I just wasn't inspired. Back to the drawing board. I remember seeing a concentrate mix and I wanted to try that, but I got distracted by a little powdered ditty. 
DIY laundry detergent. IT WORKS!

Overall I was concerned because it was a powder concoction. I was afraid it would leave residue stains. Might as well try  I wasn't going to be making the bulk recipe that this site called for! It made 20 pounds, holy dirty socks Batman! But I highly recomended this recipe. 

DIY detergent
Stir Stir Stir! If you do it in a smaller batch use a sealable tub, and shake shake shake!

The best part about it I didn't have to wait over night, and  no residue, and the yummy smell!  I will warn you the bulk recipe, like I said makes a lot. But go for it if you want. I also was low on a couple of the ingredients because I wasn't planning on making this. So I did a little guessing, but this is a sure win. My recipe is in RED below with the original. Also with my recommendations, along with my quantiles I ESTIMATED. This started as just an experiment, but I will be making it again! But the original recipe is easy to play around with. So give it a shot, I LOVE IT! 

BLISSFUL 55‘s HOMEMADE LAUNDRY DETERGENT RECIPE

Ingredients:

1 (4 lb 12 oz) Box of Borax- Found in the detergent aisle 

1/4 of a box Borax (Guestimated, use some sort of clear plastic tub with measurements on the side.)

1(3 lb 7 oz) Box of Arm & Hammer Super Washing Soda- Found in the detergent aisle

Just a bit less than 1/4 Box of  Box of Arm & Hammer Super Washing Soda. It's all I had left, so that's why this is what it is!

1 (3 lb) Container of OxyClean- Found in the detergent aisle. (This is optional but I highly recommend adding it)

I had about 1/2 a tub, I went for it and dumped it in. YES use it!! AWESOME! $$$ Money saver, buy the store brand, we are saving Money right!$$$

2 (14.1 oz) Bars of Zote Soap- Found in the detergent aisle (we chose to do pink for the scent but the white would be just fine. You can also use Fels Naptha)

1 bar of Fels Naptha, thats what I have always used, never seen the other one. $$Get from Wal-mart, less than a bucks!$$

1 (4 lb) Box of Arm & Hammer Baking Soda- Found in the cooking aisle (You could also get two 2 lb box, we couldn’t find the larger 4lb box when we went)

Junkies, I just used 1 box 16oz ( open and used a few times) of dollar store baking soda .52 cents! 

1-2 (55 oz) Bottle of Purex Crystals Fabric Softener- Found in the detergent aisle OR 3-4 bottles ofScentsy Washer Whiffs found HERE. (my favorite scent is Quiver)

This is what I left out, I have Purex, good deal and works just as good as Downy! I received a free sample of the Downy Unstopables and Purex is just as good! I only left it our is because I bought the foo-foo smelling scent, I don't think my husband would appreciate it. So I add it when I wash. But I will be buying the fresh scent and adding it. 

Directions

1. Grate zote (laundry bar) soap with cheese grater or food processor.

2. Mix all ingredients together in a large bucket.

3. Use 2 -4 Tablespoons per laundry load. (YES THATS ALL, THATS WHERE THE $$$$ SAVER IS)

Wednesday, March 20, 2013

Cherry up for spring! Add a DIY carpet deodorizer to match the set ofyour DIY supplies.

Hello Spring. Although it was warmer before you arrived here in Colorado, (that's just how we roll) it's time for those big clean outs you inspire. 

 I walked in to my toddlers room and wondered if I had a toddler or a teenaged boy living in there. Peeeeeeew! Stinky children. Well it was time for a new batch of fabric softener, fauxbreeze, and carpet deodorizer.  Using my trusty old recipes I made up a batch of softener, and then used that to make the spray. The only difference is this time in the softener I used strawberry conditioner and added some cherry essential oil (Add 15-20 drops). Yummy! You can find cherry scented conditioners out there, but I am sticking to my dollar a bottle of 'what ever'!
IMAG2617


 Time for new carpet deodorizer. I love the scent of cloves, but I thought it would be fun to keep my cherry theme and turn that teenage smelling room back to my pink loving  girly toddler room.
There are two methods I used for the carpet deodorizer:

IMAG2614
Go nuts with the clove. It's  Dollar Store Clove!

Baking soda and spice

Start with a cup of baking soda, then add your spices. You can use, Cinnamon and Allspice, or straight Clove. Which I love for the rugs coming in from the garage. Essentially add as much or as little as you can stand.

Make your own AllSpice

1/2 teaspoon cinnamon
1/2 teaspoon cloves or 1/4 teaspoon clove
1/2 teaspoon nutmeg or 1/4 teaspoon nutmeg
IMAG2615
Just add Cherry EO, or any other EO of your choice. I just like matching my house hold scents.
For Cherry carpet deodorizer (or any scent)

1 cup of baking soda

15 drops of your favorite EO

Mix in bowl, and stir with metal fork. Let sit for 24 hours to make sure your EO infuses into your baking soda.

The popular container is the parmesan lid on a mason jar. But if you're like me you have a hoard of jars, or prefer to reuse what you have. To reuse a jar with it's lid is as simple as hammer and a phillips head screw driver. Put several holes in the top by using a small phillips head. I do it on a rug so when you hammer through there's less noise, and no damage.


Lavender-1

Wednesday, February 20, 2013

Dawn of a New Budget; The other stuff... Stain Fighter, LaundryBooster, and DIY Swiffer Pads.

There has been so much on my plate, and I have been filling up drive space with pictures! I have to get them here, that's the whole purpose. Got to make more time. But this week is perfect timing I have to make more goodies for cleaning.

Image
The BIG chore in our house is the washing. I make our own laundry detergent, and softener and have saved a lot. But as all laundry there are always issues. Having kids there are MORE issues. The biggest one is my youngest, he is now self feeding. If thats what you want to call it. I forgot how the first few months are...' interesting'. I remember my little girl used to rub her mash potatoes in her hair, and tomato sauce all over her legs. Luckily for me during this time we have them in training wearing a diaper only. Much easier to hose off. But there's those times in between their finger food meals where every thing is a bit of that and a bit of jar. And those are the times I could just kick myself. I mix it up during lunch, half jar, half finger foods. This is when I am not thinking and we forget down to diapers. DOH! Stains stains stains! Valen loves to wipe his food on his sleeve up into his hair, and I always find goodies in his lap. Yummy!

shot_1361293606139
My whole life I haven't been using laundry boosters or pre-treater's! *Gasp* I'd gather up a bunch of 'ucky-ness' and do a bleach soak (yeah, I know, I still have some in my house left over). But I hate the bleach, it can be touch and go using the stuff. I have never really justified buying "Shout" or anything similar, until I saw an earth friendly brand on close-out sale at King Soopers. Less than $2, score!  But this would never happen again,  so it was time to add to my DIY arsenal. Because I WAS going to run out of the store bought stuff, and the kids ARE getting grosser! 

After I consulted all mighty Google I had one answer. There really is one standard recipe, that is going to save me testing time!  

  • 2/3 cups Dawn ( the blue stuff)

  • 2/3 cups (Generic Ammonia, in the laundry section)

  • 6 Tbl (I actually am going to try Super Washing soda next)

  • 2 cups warm water

Using a glass measuring jug I first mixed the baking soda into the water to make sure it dissolves then slowly stir in the Dawn. Add your Dawn, and use a funnel to transfer into your spray bottle. Once the ammonia is in the bottle it will be OK to shake before use, it will separate.   I did two methods. Spray and rub, and spray and soak. Both worked great! 

Next batch I am going to use Super Washing Soda, because it is in my laundry soap!
DIY Pretreat 
Dissolve your baking soda, add soap to measuring jug for easier mixing.

DIY stain fighter 
So here's a few things I sprayed. Didn't think to take a picture of the onesie before I sprayed, thought it would be there long enough to take this picture like the bib!
After! Ta-Dah! 
After! Ta-Dah!


Laundry Booster

I do own a generic version of Oxi-Clean just to toss in my wash but again I did not want to rely on store bought.. I needed a booster/soak for my super-gross-don't-leave-those-towels-out-if-you-have-guests-over-kitchen-towels. Yeah, you know those floor scrubbers, all purpose things we all have as a 'go to' for kid spills, and more. Laundry booster also works for those over used items like sheets, pillow cases, and blankets. I consulted Google again.. and DUH! My favorite all purpose buddy, Hydrogen Peroxide! And my home slice, Super Washing Soda (that's why I am putting SWS in my pretreat next batch). In the morning I filled up my washer with hot water I added 1/4 cup of Hydrogen Peroxide, and 1/4 cup of Super Washing Soda and dumped in the good, the bad, and the ugly. Closed the lid and went on with Mommy-ing. I have no idea how long I left them in there, I lost track of time, but the next time I got a break was just after lunch. I tossed in my detergent and started that puppy up. All I have to say is; Not-Too-Shabby! I will be doing this a lot more. Soaks take much longer, so I will  save it for an over-night project, but I am impressed.


These are the towels no one should see... But now, I wouldn't mind if I left one out! 
These are the towels no one should see... But now, I wouldn't mind if I left one out! How crazy, that bib has gone through the wash twice in one post. Bibs are a revolving door! But it's gotten whiter 

DIY Swiffers, wash and reuse! 

Now I will brag, I am a Shark Steamer owner. Last year it was a huge thing on my personal FB page. It led to many in depth conversations. No. Really. But some times I don't want to drag it out and fill it with water, and wind up that damn cord (I don't do cords, ask my husband). I have to sweep daily, I have two dogs, one crawling baby,a toddler, and a lot of hard wood! So I pull out the old Swiffer for in between floor mop downs with Sharkie. In the past ( pre-Sharkie) I have always used it with a bar towel for mopping, who knew I was so green then. Even then I did not want to buy the generic Swiffer sheets. It doesn't make any sense to me, I just might as well dive to a land fill and throw my money directly in!  

So I was inspired by this: DIY Swiffer Pads

But I did this: Reversible. I wanted one side to dust, then flip it to mop or spot clean. 

Take your chenille ,fleece or micro fiber and cut to size of your mop head. If you get the Dollar Store 2 packs of wash cloths just cut in half (for a standard Swiffer). 

Cut your fabric to match the long side, add for seams. then the width double the length it takes to wrap and tuck in the holder. I did 6 inches to leave for seams. Down all the edges of the folded side I turned in to make a small hem to stop from fraying. Now you have a hemmed rectangle. Fold over, take the edge of your pad and insert between the two long sides of your fabric. Like a sandwich! Now just run a stitch down to attach.
DIY Swiffer Pads, reversible. 
One side to dust, then flip it over and mop!

Make DIY Swiffers 
Sandwich the pad, and attach!

Run a stitch or two to attach. Make it sturdy for the washer! 
Run a stitch or two to attach. Make it sturdy for the washer!


DIY Swiffer 
There ya go! Flaws and all!
IMAG2283 IMAG2284


I got my cloth from the dollar store. A pack of two wash cloths made 4 Swiffer pads. I also used scraps and fat quarters for my material. I used no patterns, just measured my Swiffer. I am not a seamstress, and this was my first project after MANY years of not sewing. I received a sewing machine as a gift, and I couldn't be more happier. So these were great warm up projects!

Soon after this my Swiffer broke... Luckily I had a back up in the garage, it has velcro and tuck in attachments. Good and bad thing, it's bigger!!!! Drat! This is now how I roll:
I am using a dollar store micro fiber hair towel! I can tuck it in, so fair enough! I will sew later:-) 
I am using a dollar store micro fiber hair towel! I can tuck it in, so fair enough! I will sew later:-)
 Under, for picture purposes (I don't keep them doubled up) is an old pair of my kids cheap velvet pants. Just  so happened the 6-9 months were the same length. So I chopped off the legs, cut down the inside seam to open them up! And they tuck in! As I said... I will sew later!!!
Under, for picture purposes (I don't keep them doubled up) is an old pair of my kids cheap velvet pants. Just so happened the 6-9 months were the same length. So I chopped off the legs, cut down the inside seam to open them up! And they tuck in! As I said... I will sew later!!!


I will so sew later... soon after I do those 19 other things I have scribbled on the white board :-)

Tuesday, January 22, 2013

Dawn of a New Budget, Part 4: Bad Ass Balls

Dryer balls are easy, and safe.

Dryer Balls! You know how awesome they are? Well if you don't it's time to find out. They will be the easiest thing to make, and fast too. Except when it jumps out of your hands and a toddler runs off with it... just follow the string. The best part about them is they are re-useable, natural, shorten dryer time, save energy, and don't contain gross things like animal fat like your dryer sheets. All you need is a ball of 100% wool. You can get yourself some at Wal-Mart for about $7. Last few times I was there they were gone, so I went to Michael's, the same thing was over $11! Lame! BUT... I did find some yarn that was 100% wool, and on the front said great for felting. AND... on sale for $4, another bonus I got to choose a color. I chose the ball with all the colors in it. I got about 3 balls out of this, which is perfect because I am adding it to the three I made out of the Fisherman's Wool from Wal-mart. Which by the way will make more, I made some for me and some for my Mom :-)

Image

I love these colors, because it's ALL of them.

First start wrapping it around your two fingers.

Dryer Balls save you energy!

Did my balls my 7 month old son watched Super Why!

Then take off your finger, and wrap it in the middle, now you have a bow tie looking thing.

Dryer balls are easy to make!

Now just go to town start wrapping and it will  build into a ball.

Dryer ball how- toDryer Ball

A good size is about a tennis ball, mine are not all the same at all. They will last you for years, but will decrease in size over time.

Dryer ball

At the end just wrap the end around itself a few times and pull tight, then a small knot. All done, now repeat!  Time to felt.

Just place in size some old nylon panty hose, or a zipper bag. These are great agitators to felt. Toss it in with a load of laundry on HOT. Some yarns felt differently, some do not require hot. I just stick to the hot method just so I know it will get done. Then toss into the dryer with your load, again HOT. Still keep in your hosiery ball, you are still felting. Make sure this load though you do not use a dryer sheet. You do not want that animal fat to transfer on to your lovely natural balls. Once out of the dryer, open up your package and gaze upon your fuzzy balls ;-)

Felting dryer balls

Tie a knot in between each ball too.

The best thing about the dryer balls you can scent one or more with essential oils. I use a lot of tea tree and lavender. Depending on whose load it is. I use 6 balls, and only one scented, thats enough for me. I use about 10 drops on one. You can experiment because it does fade after a few washes. Just make sure you are using 100% essential oils. Now you will have some awesome smelling laundry, with aromatherapy benefits with out the headache of chemicals.

Put your balls to work!